
To find elk with trail cameras, focus on isolated mountain meadows near north-facing timber, active wallows, and water sources during August as bulls transition to rutting grounds. Hang cameras at least 6 feet high, angle them down entry trails, and always verify your setup with an SD card reader or cellular trigger before leaving the site.
-
Focus cameras on isolated mountain meadows near north-facing timber where elk enter and exit feeding areas.
-
Hang cameras at least 6 feet high to reduce elk spooking, deter bears, and stay hidden from other hunters.
-
Always verify camera aim before leaving—use a cellular trigger or SD card reader to confirm coverage.
-
Water and wallows are as critical as food sources for patterning bulls in late summer.
-
August is the primary camera-scouting window—bulls are transitioning to rutting grounds before the archery opener.
Elk aren’t hard to kill; they’re just hard to find. Although elk populations are high, the landscape they live is huge and the terrain is rugged. With the animals spread over millions of acres of wilderness, herds can seem to vanish into thin air. And that’s why, starting in summer, I spread digital and cell cameras all across my part of the West to locate them.
Trail cams may have been initially designed for whitetail nuts, but their use has exploded among western bowhunters. And for good reason. Archery-season bulls are big, noisy, and for a 30ish-day period during the rut, they think with something other than their brain. If you can just find a few good bulls ahead of the season, you’ll have a great chance at tagging one once it opens.
During August, elk begin transitioning to their rutting grounds, and trail cameras, not optics, are my primary scouting tool. Here are six tips for using trail cameras now so that you’re in the game when the elk opener arrives.
1. Find the Food
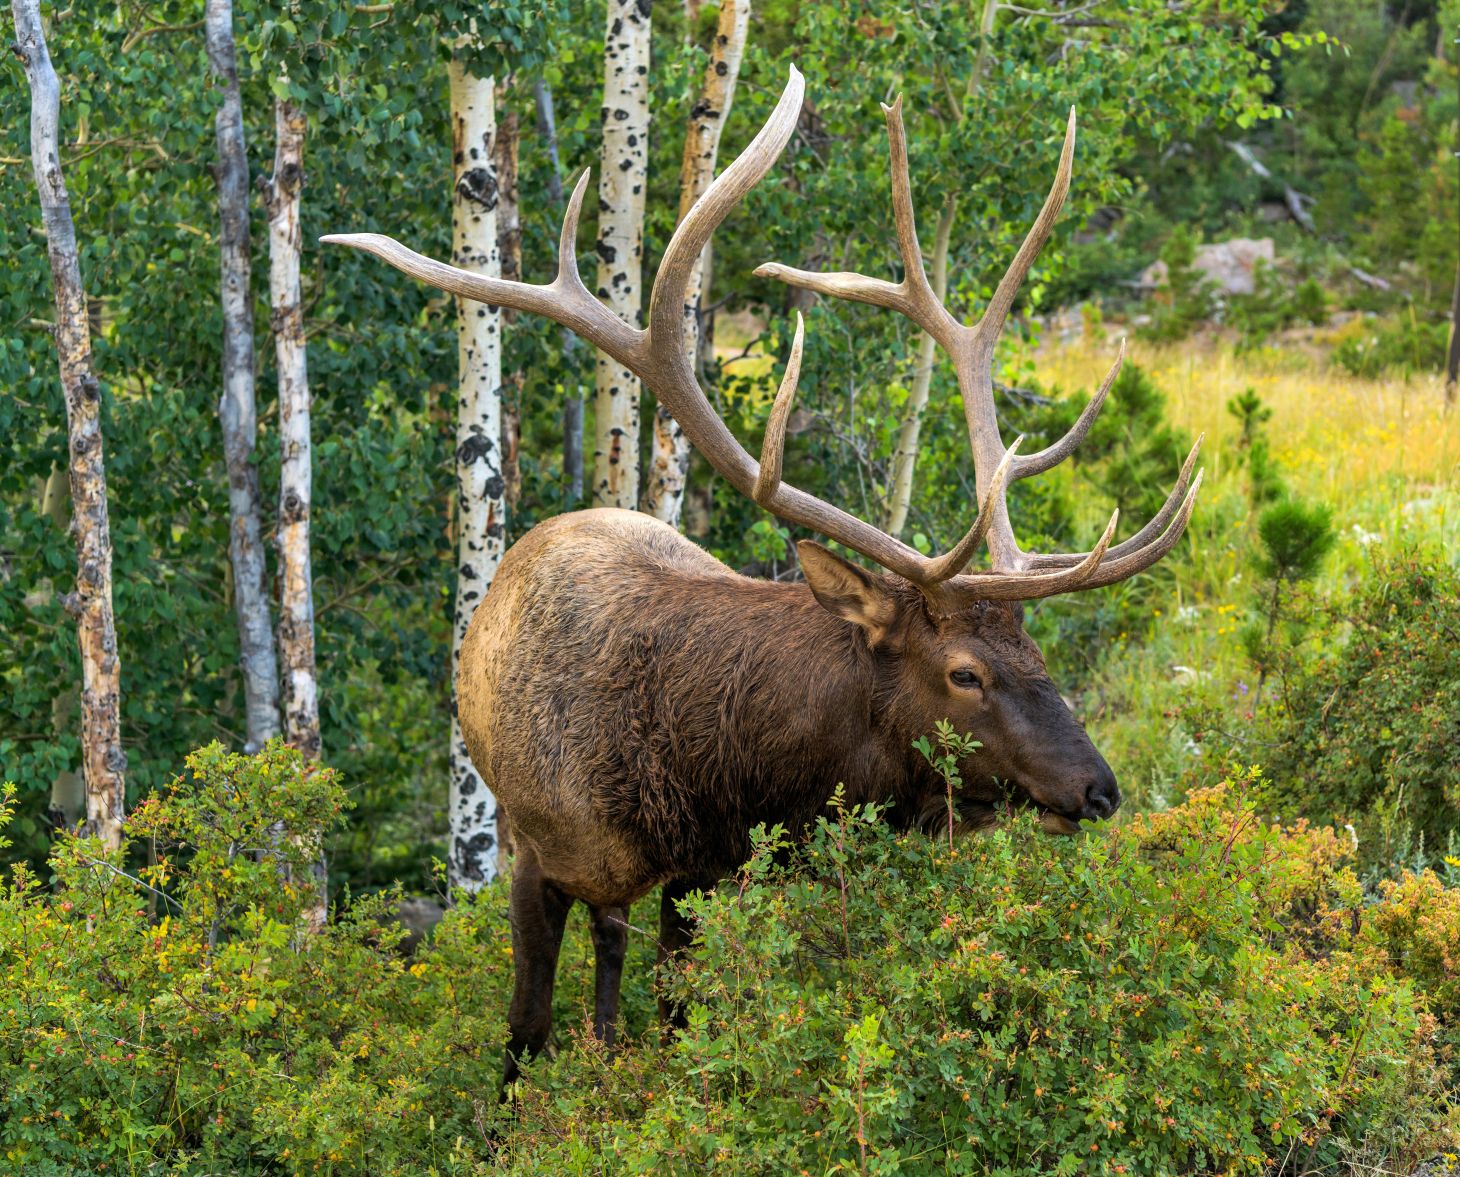
Put cameras on the edge of meadows to catch big bulls feeding. (Photo/Sean Xu via Adobe Stock)
Summer bulls want to eat, drink, rest, and stay cool. Just like whitetail bucks in August, bulls prefer to bed close to a food source and access it without traveling too far. So, what you want to focus on are isolated mountain meadows near dense, north-facing timber slopes, which provide more shade. Big as they are, elk leave heavy tracks, which usually makes it easy to locate trails where they enter and exit a food source. That’s where you want to hang a camera.
2. Hang Em High
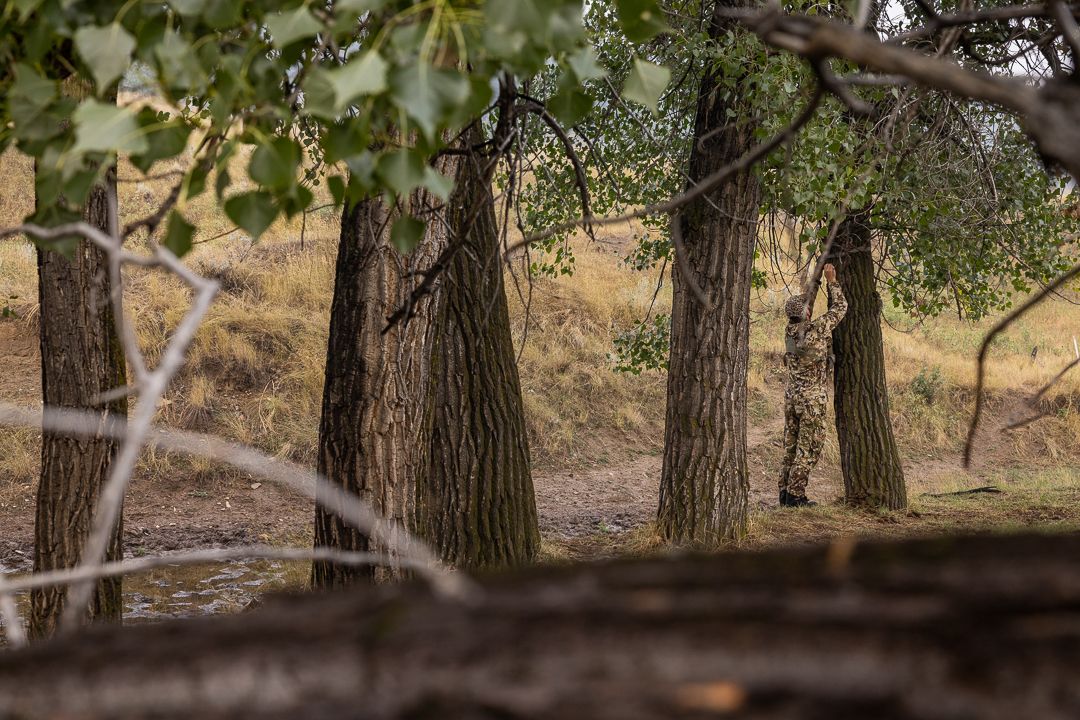
Hanging cams high spooks fewer elk and helps keep the bears at at bay.
When hunting public ground, I like to get my food source cameras at least 6 feet off the ground and angle them down the trail right where it opens into the meadow. This keeps the camera concealed from other hunters; it spooks fewer elk; and it seems to keep bears from messing with your cameras, too. Finally, it often allows you to get cam coverage of the feeding, as well as the trail leading to it.
3. Double-Check Your Set Up
If cellular trail cameras are legal and there’s service in your area, a wireless cam is an excellent choice. You get immediate intel, and after hanging the unit, you can trigger it to make sure it’s covering what you want it to. If you don’t go cellular, carry an SD card reader. You can pick one up for under $100. Walk past your camera a few times after setting it up and use the reader to ensure the cam aimed correctly, and then you’re good to go. Nothing is worse than returning to a camera and discovering it didn’t capture the elk. Unlike whitetail cameras, your elk cams will be challenging to access. Double and triple-check everything before you walk away.
Related: 30 Trail Camera Tips for More and Better Pictures
4. Watch the Water
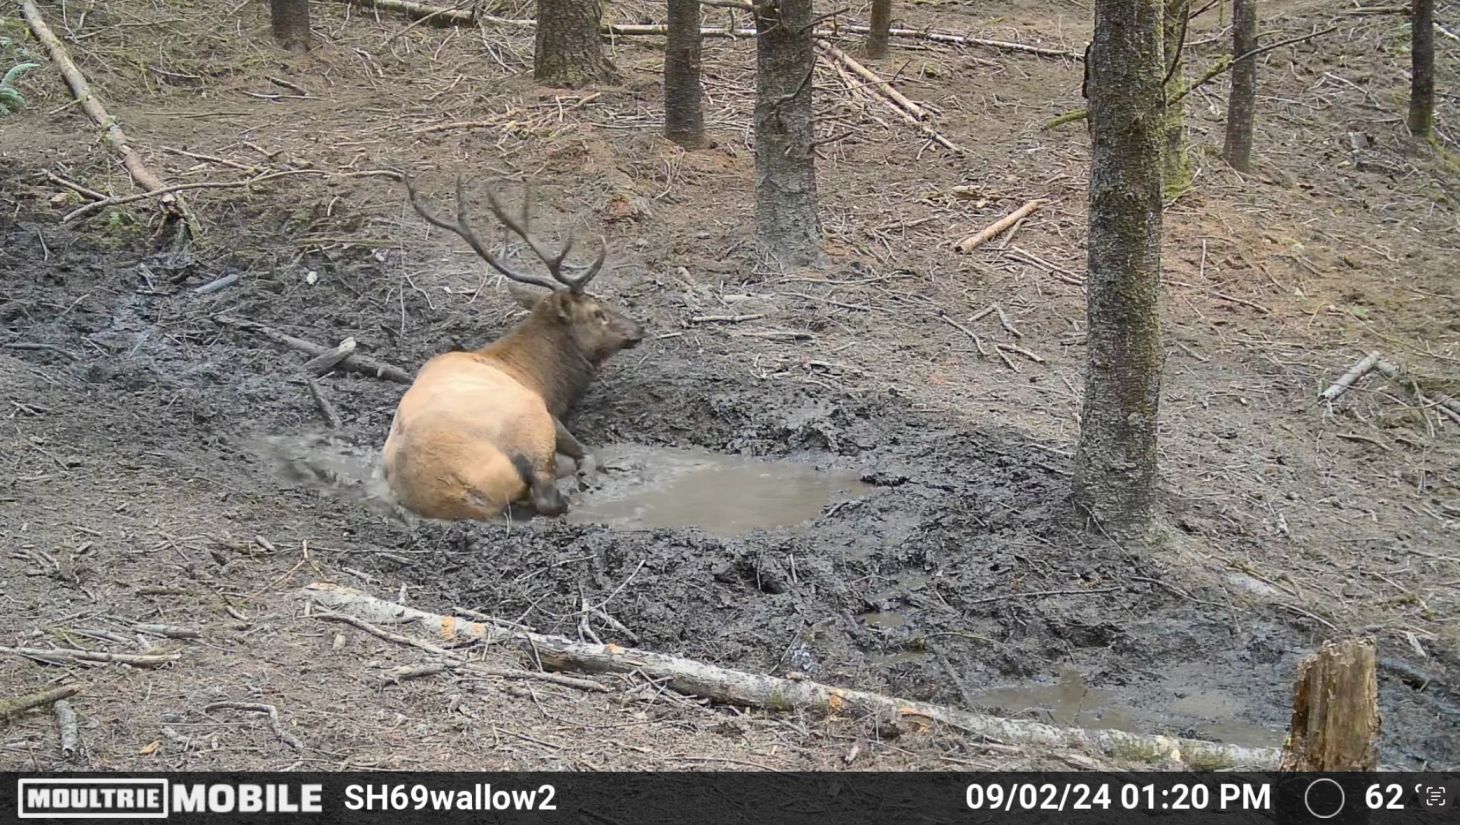
A trail-cam shot of a shooter bull visiting a wallow. (Photo/Jace Bauserman)
Water is just as important as food to elk now—and maybe even more important to the hunter trying to pattern and elk with a trail camera. Summer and early-fall elk, especially during periods of intense heat, will hit water twice per day and consume several gallons during each drinking session. They’ll also use ponds, streams, and stock tanks to cool themselves. During late August, as bulls ramp up for the rut, they’ll wallow regularly. Many wallows get used year after year, but you never know when you’ll find a new one.
Your job is to pin likely elk water sources on a digital map and go visit them. If water is scarce, it’s one of the very best ways to find elk. When you see good elk sign at a pond or wallay, get a camera in place. (Just know if you place a camera over an old wallow, it will likely be late August or early September before you get a picture of a bull.)
5. Set Up Water Cams at Ground Level
A camera sticks out like a sore thumb on a tree around water, making it easy for a thief to steal or a bear to demolish. As most water sets, I use a small trowel and dig a slight depression in the ground for my trail camera. I can angle it up or down, depending on the lay of the land, but I prefer the latter if there’s a pond bank or slope I can use to set the camera slightly above the water to capture more of the area.
Clear away any vegetation that will cause false triggers and set the camera to cover as much of the water source as possible. Use baling wire or the camera’s strap to attach the camera to a rock, log, or bush. If nothing is available, find a rock or a log that looks natural and add it to your ground set. Before leaving, make sure the camera is taking pictures and covering the water source. Finally, take some Wildlife Research Center Scent Killer Gold Autumn Formula and soak the area. This will help ensure a pesky bear doesn’t smell the camera and chew it up. I also like no-flash cameras when creating a ground set. Bears are hell on cameras, and an IR camera or one with a white flash will usually get eaten.
6. Map Your Cams
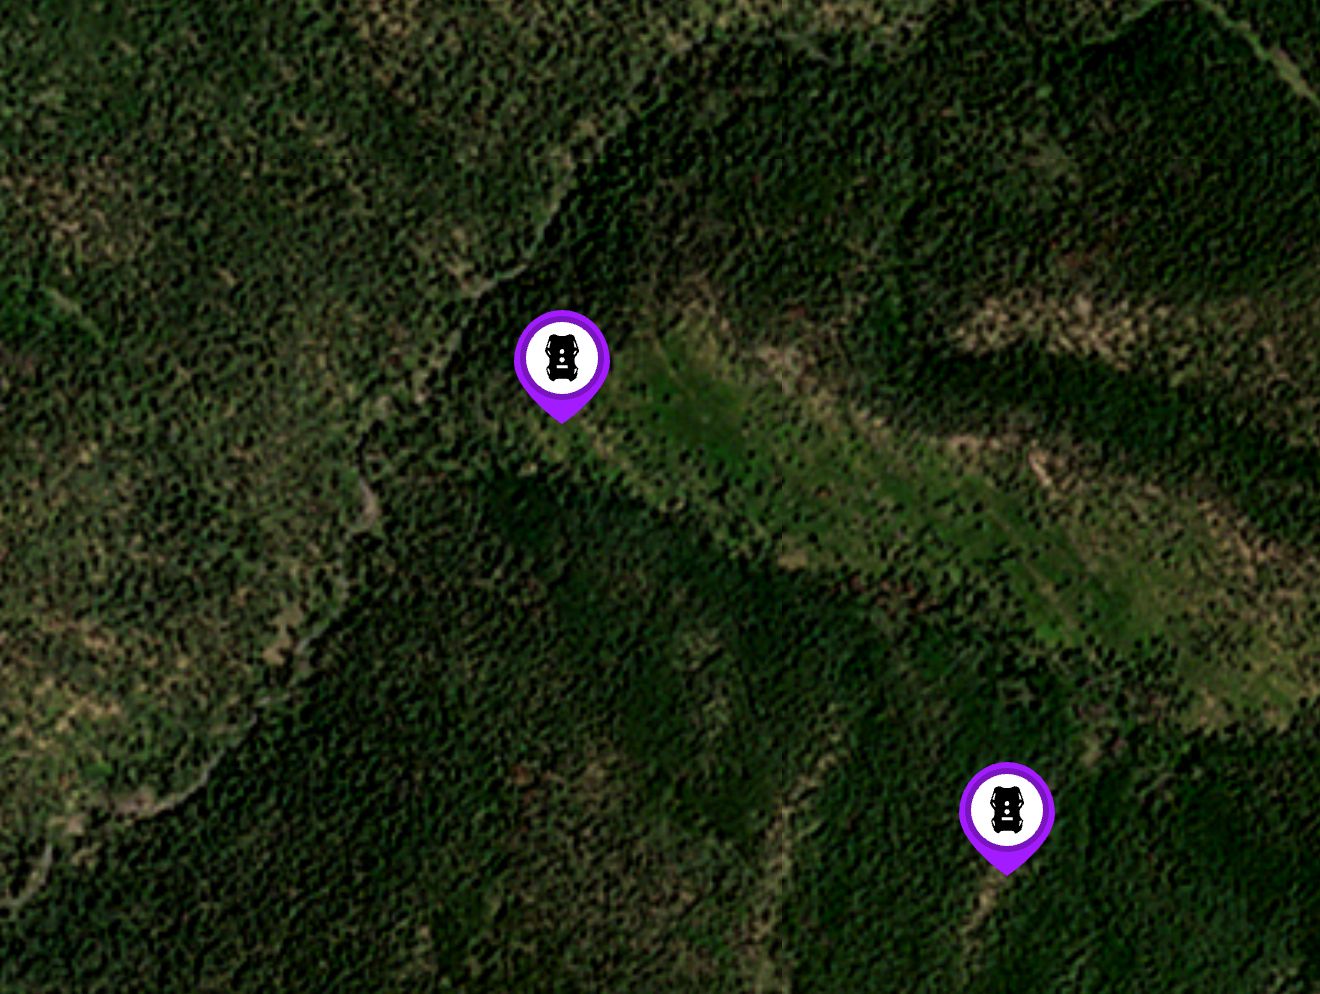
Two of the author’s trail cam pinned on a mapping app. (Photo/Jace Bauserman)
Most areas where I hunt elk don’t have cell service, and that doesn’t bother me one bit. However, it does mean using conventional digital cameras and SD cards, and it means you’ll need to manually check those cams before you hunt. If you’re like me and take a 3,800-cubic-inch pack full of digital trail cameras to the elk woods in summer, you’ll have a lot of checking to do. And if you don’t want to lose cameras because you forgot where you put them, make sure to open your favorite digital scouting app, and pin the exact location of every camera right after you place it. I prefer HuntStand because of the updated monthly satellite imagery. I also name every camera and then write notes about what the camera is monitoring. I haven’t lost a digital trail camera since I started pinning their locations.
7. Don’t Forget to Look Close
I bowhunt elk differently than most. I did the go-deep-and-far thing for years. I’m 45 now. I’m still a public-land elk grinder, but I don’t want to tote a 70-pound pack into a wilderness area, sleep in a coffin-like bivy sack, and commit a 10-day hunt to one location.
Every year, I pin 10 or even 20 spots on my scouting map that are (1) within a quarter mile of a road and (2) require a steep, trailless ascent or steep, trailless descent. Most hunters ignore areas near roads or trailheads that require a tough climb or descent to access. My play is to scramble to the location, find good elk ground, hang some trail cameras, and leave.
One of my favorite tactics is to locate areas with old rut sign and dominant trails in thick bedding timber. Elk rubs don’t go away, and when you find an area marked with rubs and elk beds are prevalent, hang a camera. You might not start getting pictures until late August or early September, but when you check your camera and a 330-inch public-land 6×6 and some cows are on the card, you know where to hunt.
These close-to-civilization elk areas tend to have service, and modern-day cellular trail cameras with powerful antennas are effective. Be sure to check state regulations concerning trail cameras on public ground before using cellular cameras.
8. Hang Elk Cams Wherever You Can
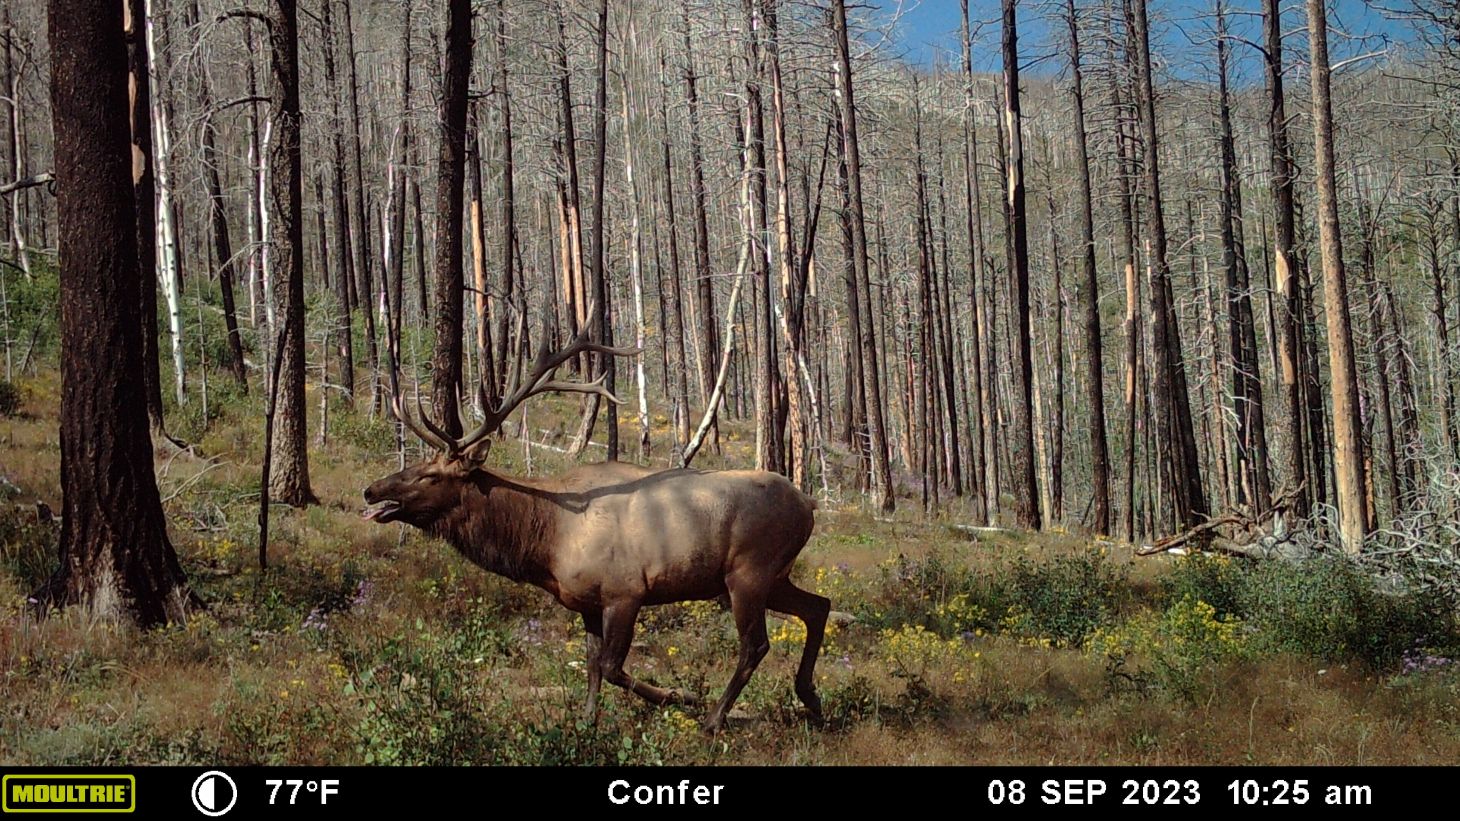
Put cams wherever you have the best chance of capturing elk, even if the setup isn’t perfect.
I tend to face my whitetail cameras north and south. Doing so keeps the sun from affecting morning and evening picture quality. But this isn’t as critical for elk hunters in the mountains. It takes the sun a while to rise above the mountains in the morning, and it’s quick to fall behind them in the evening. Because you don’t want to tote camera stands, T-posts, etc., you need to set your camera where they will be most effective, even if that means facing them east or west. Unless the camera is in an open meadow, the camera’s direction doesn’t matter too much.
9. Make a Cam Kit
Setting elk cams is hard work. It’s physically demanding, and the weight of the cameras and the gear is a lot. I’ve visited my elk cameras on the brink of a hunt and found them knocked over, trampled, twisted backward around a tree, and have viewed many SD cards with nothing but weeds. Sometimes this is unavoidable. Other times, it’s been because I got sloppy. One thing that has helped keep me from getting sloppy is a dedicated cam-hanging kit, so that I always have what I need to do the job right. I carry a garden trowel, a Walmart-brand machete, baling wire, wire cutters, a Leatherman Multi-Tool, a Wicked Tough Hand Saw, extra batteries, and Q-tips to clean lenses.
10. Take Your Time Setting Cameras for Elk
Whitetail hunters can usually get away with hanging cams quickly, but when you are setting cameras for elk, it really pays to take your time and get it right, especially when using ground and high-hanging tree sets. Always check public-land regulations before cutting live branches, but the goal should be to set up your camera sot that it’s undetectable to humans and animals and won’t get overgrown or covered up by vegetation. It’s also critical to examine the area in front of the camera. Is there tall grass, dead limbs, or anything else that will trigger it on repeat? If so, cut them down or move the camera.
You want to return to find your camera working and holding an SD card loaded with valuable elk intel. If you take your time and make good sets, this is what you’ll get. If you rush things, the mountains will make you pay, and you’ll have no images to show for all your hard work. Nothing builds September confidence like a bunch of images of bull elk in your hunting area. And now that you know how, now is time go out there and get them.
content_trail-cameras
Recommended Products
Read the full article here