We may earn revenue from the products available on this page and participate in affiliate programs. Learn More ›
Imagine this: You’re in the backcountry, nearly out of liquids on a scorcher of a day, when you hit the first water source you’ve seen for hours. You sit down, pull out your bladder and your pump, and drop the intake tube into the water. But when you go to pump, the pressure goes slack. Or the nozzle jams, barely a drop coming out no matter how much you squeeze. Chances are, if you’ve spent enough time in the backcountry, you don’t have to imagine this scenario: It’s happened to you. Maybe more than once.
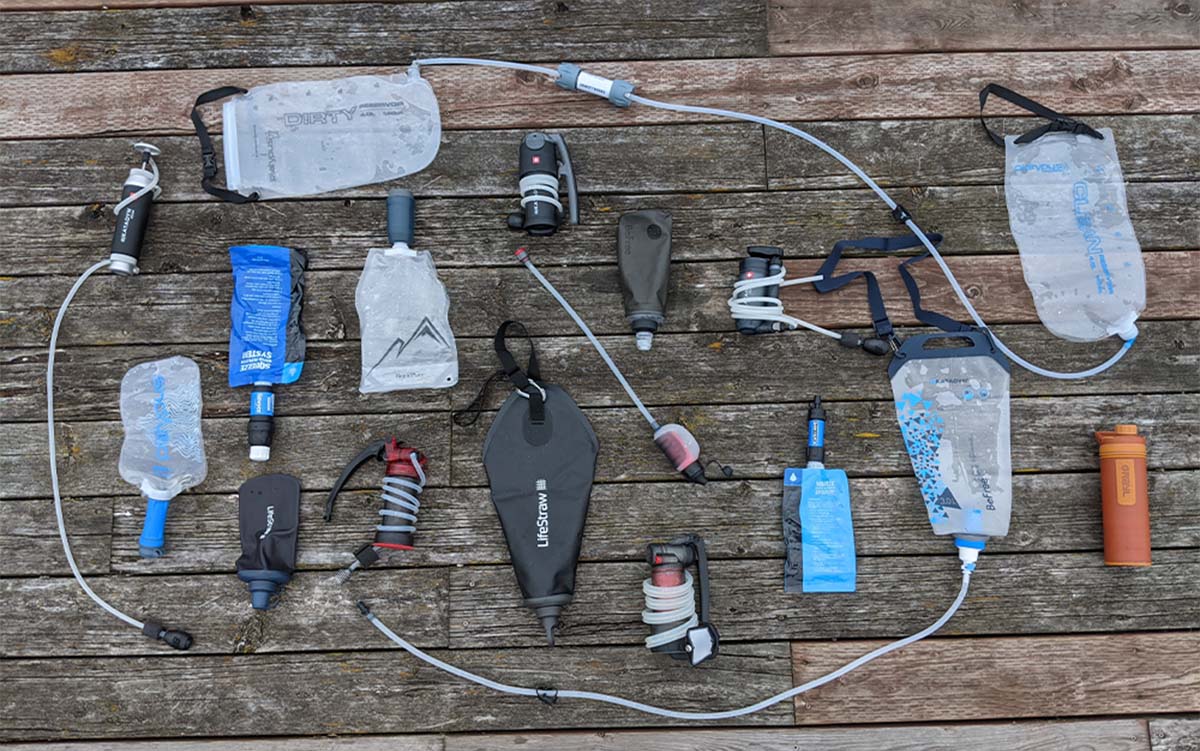
It’s certainly happened to me. So for Outdoor Life’s test of the best backpacking water filters, we decided to see which models from the top brands—including MSR, Lifestraw, Katadyn, Grayl, Platypus, and RapidPure—could handle the gnarliest water conditions backpackers can expect to find: stagnant water with high levels of bacterial contamination, the dark-tea tannin-filled water of a wetland, and silt-filled glacial runoff.
How I Tested Backpacking Water Filters
Before I even began testing, I interviewed the folks at MSR, LifeStraw, and Katadyn about how they guarantee that their filters are indeed removing bacteria and protozoa (and in the case of a few of them, viruses). All of them engage in rigorous testing, using EPA or NSF standards, both in their own facilities and through third parties, like BCS Laboratories out of Florida.
I visited the MSR facility where they showed me the lab where they not only grow E. coli bacteria, but also a virus that attacks E. coli, to test the performance of their Guardian filter. The thoroughness of this testing is not something that can be easily replicated in the natural environment, where the pre-existing levels of bacteria, protozoa, and viruses are unknown. As such, my testing did not look at how well the filters dealt with bacteria, protozoa, and viruses, because all the filters in this review use EPA or NSF standards.
Something else that you’ll often see on the packaging of backpacking water filters is the number of liters per minute that they filter. This number, however, only reflects what the filter is capable of doing right out of the box—not after you’ve taken it out on a couple of backpacking trips—or 20. The brands of course are testing to ensure that the filters can withstand a certain level of grit, but it’s rare to learn what the flow rate of the filters are after they’ve been exposed to some less-than-ideal water sources, let alone how much grit and sediment and muck a filter can take before it craps out completely. So my testing looked at what conditions the backpacking filters can withstand and still return a reasonable (or any) flow rate.
To start, I called in or purchased the most popular backpacking water filters available, along with corresponding models from their competitors. Before I began testing the filters out in the field, I first timed how long it took each to filter one liter of water out of the box. Generally, these times corresponded to the advertised times of the manufacturers. During this process, I also noted how complicated the filter setup was out of the box.
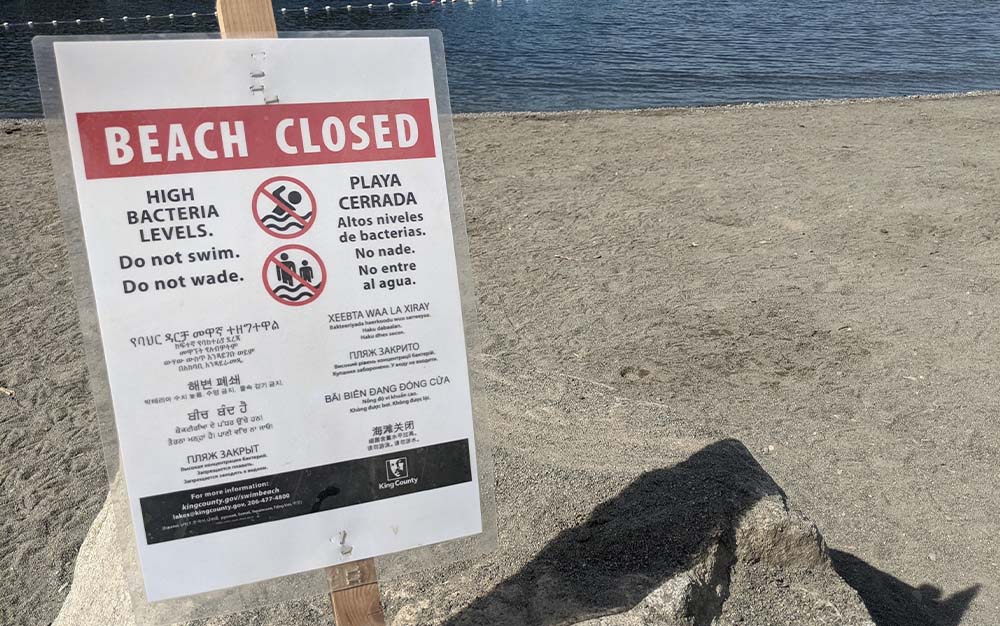
Then I took the filters to a public beach in Bellevue, Washington, which had been closed due to high levels of fecal matter (three times more than what’s considered safe for swimming). Here I filtered five liters of water through each of the filters in my test.
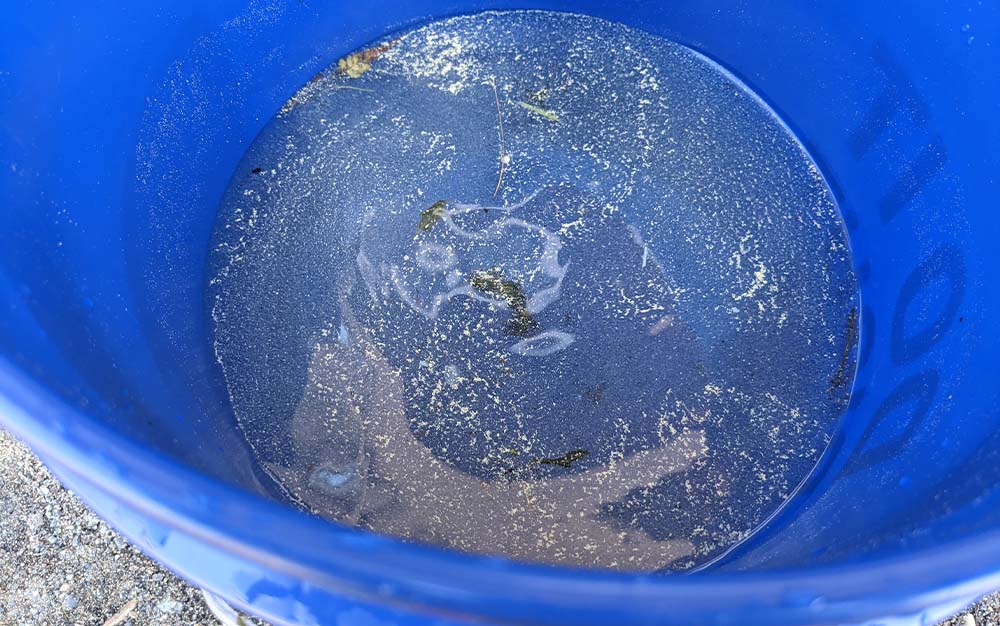
In addition to the recorded high levels of fecal contamination, the water was also fairly scummy.
At the end of the first round of testing, I took the filters back home and measured how long it took to run a liter of water through each, and how that compared to the out-of-the box test. In most cases, there was a noticeable, if not significant, effect on the length of time it took to filter one liter of water. Ironically, some filters measured a faster time at the end of the initial round of testing than they had at the start; my impression is that this is the result of my becoming more efficient at using the filter with practice.
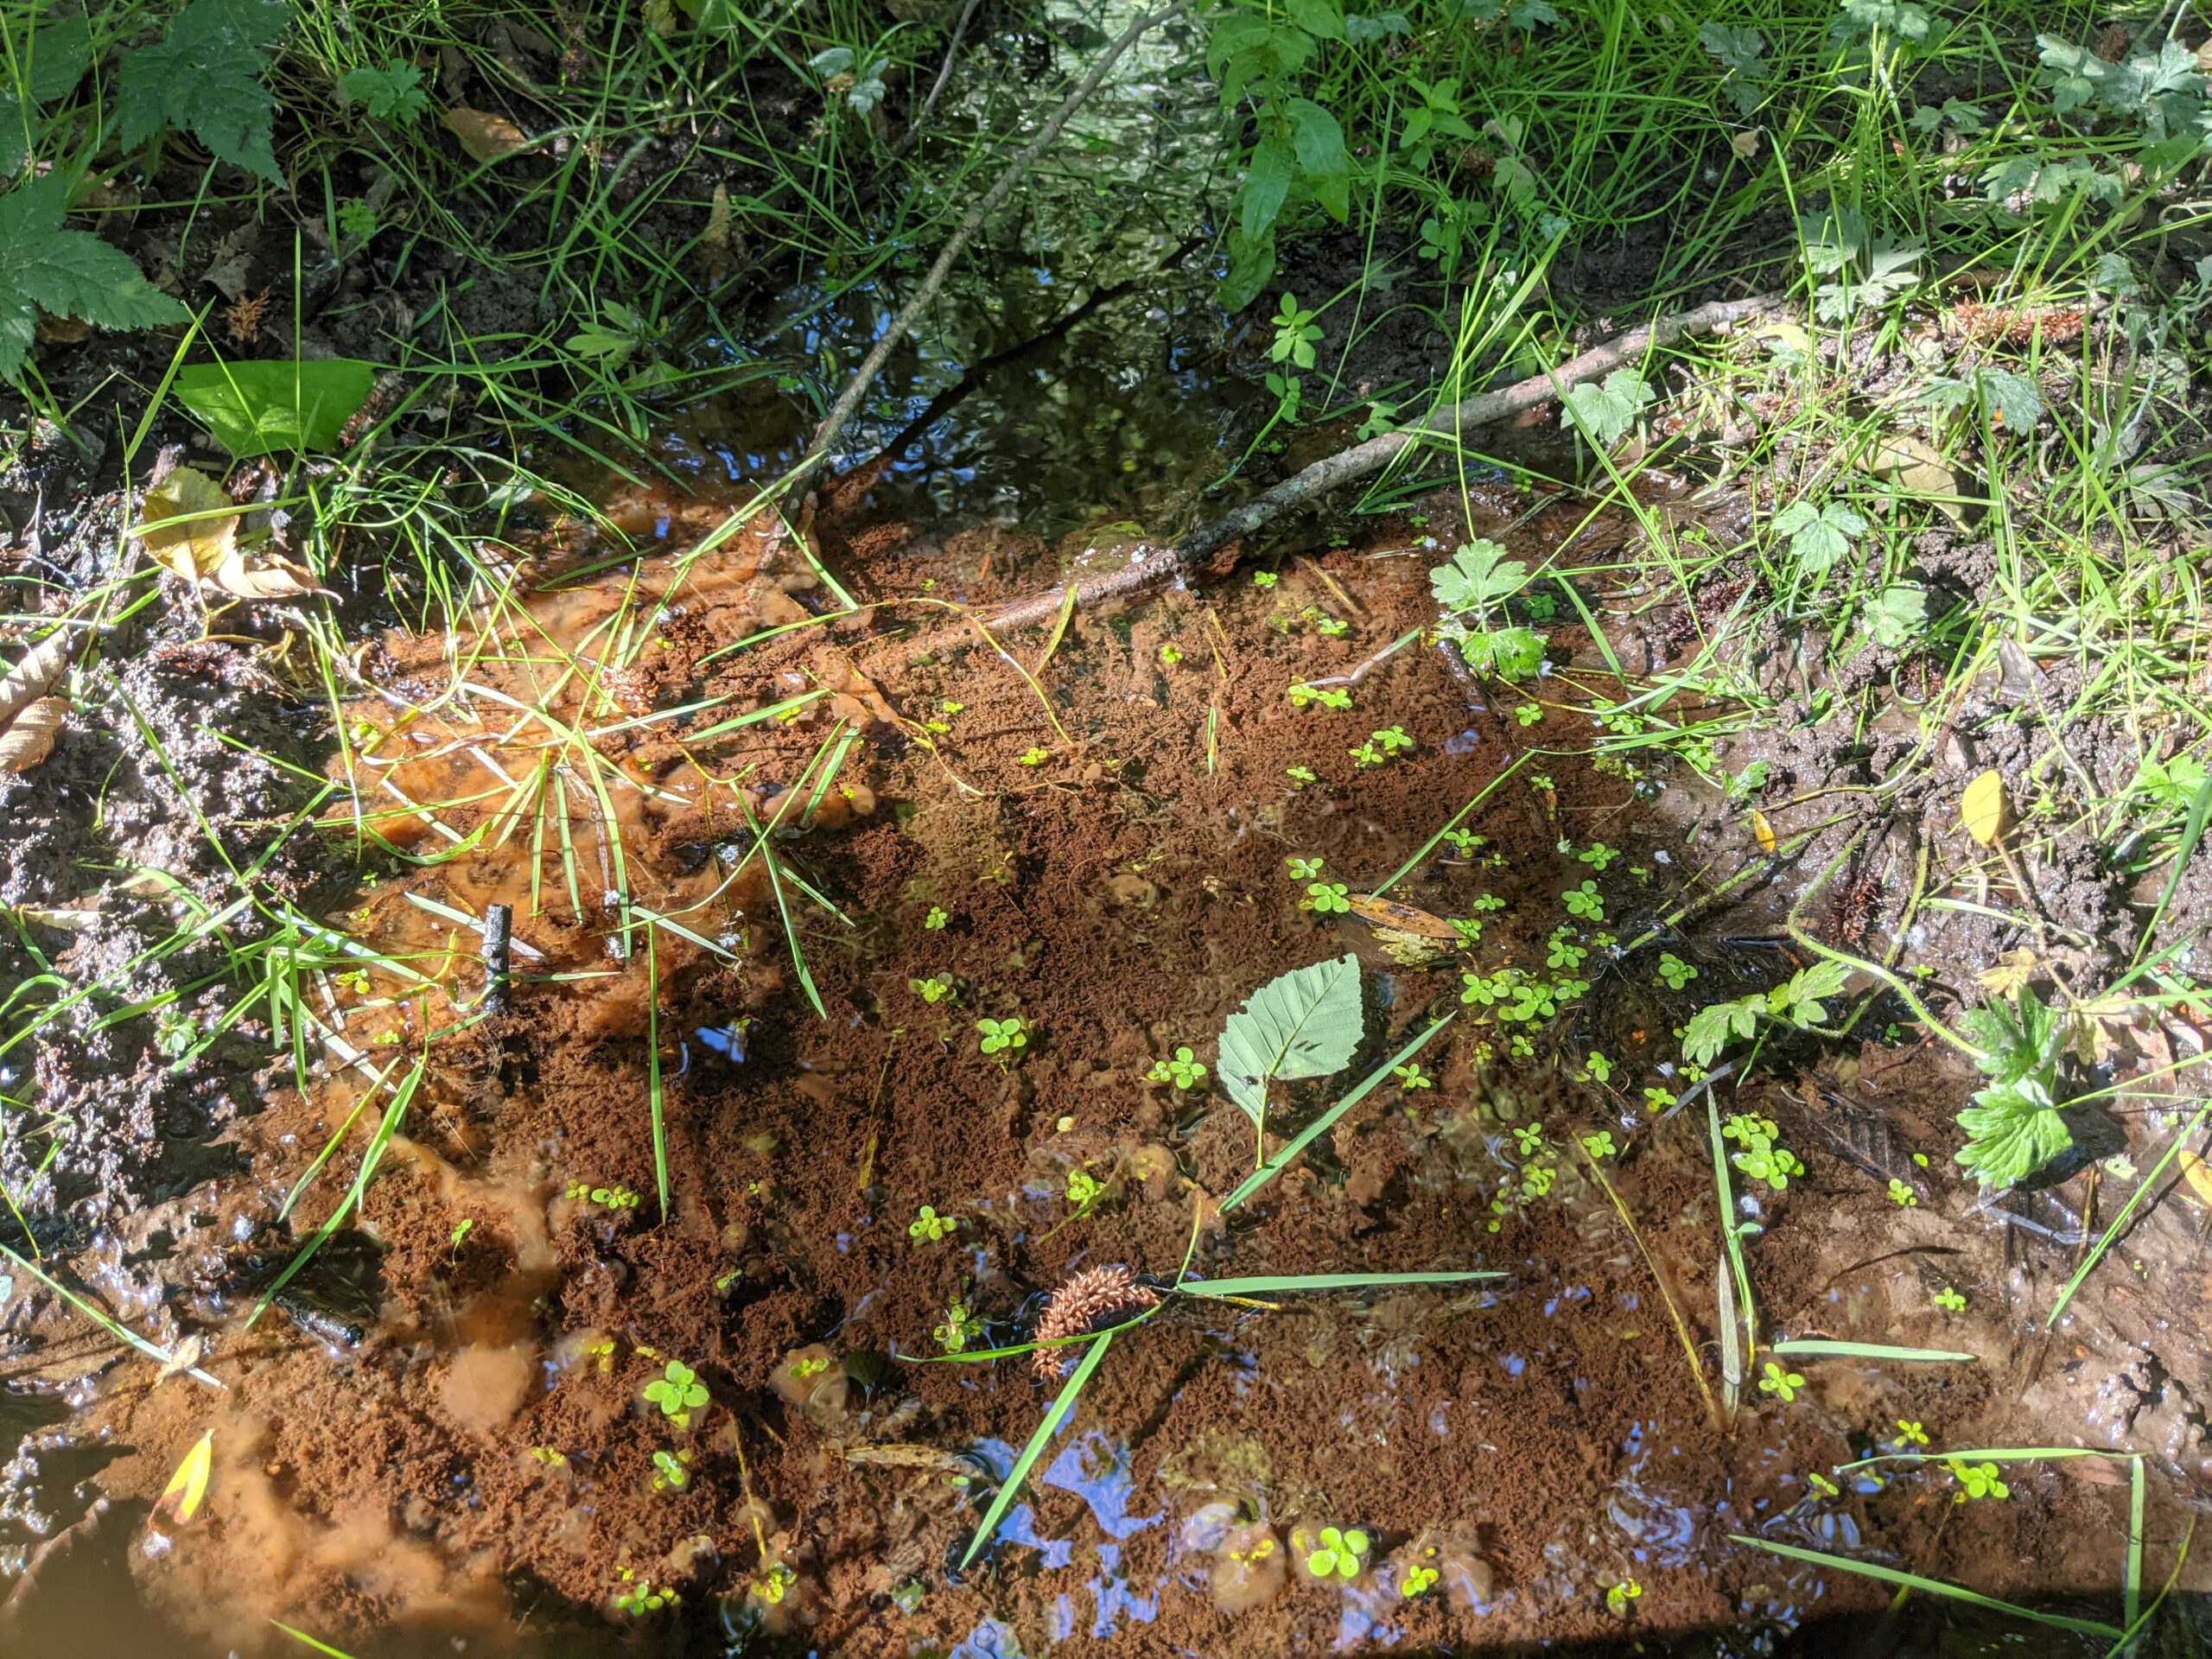
The second round of testing took place at Narbeck Wetland Sanctuary, just north of Seattle, Washington. This is a classically beautiful swamp, with plenty of water but all of it gunked up by the dirt and tannins and life teeming beneath the surface. Here we would see how well the backpacking water filters responded to the mucky water sources that those in the backcountry are sometimes forced to resort to. I filtered three liters through each of the water filters at this site, and then headed home to record how long it was taking each water filter to push water through.
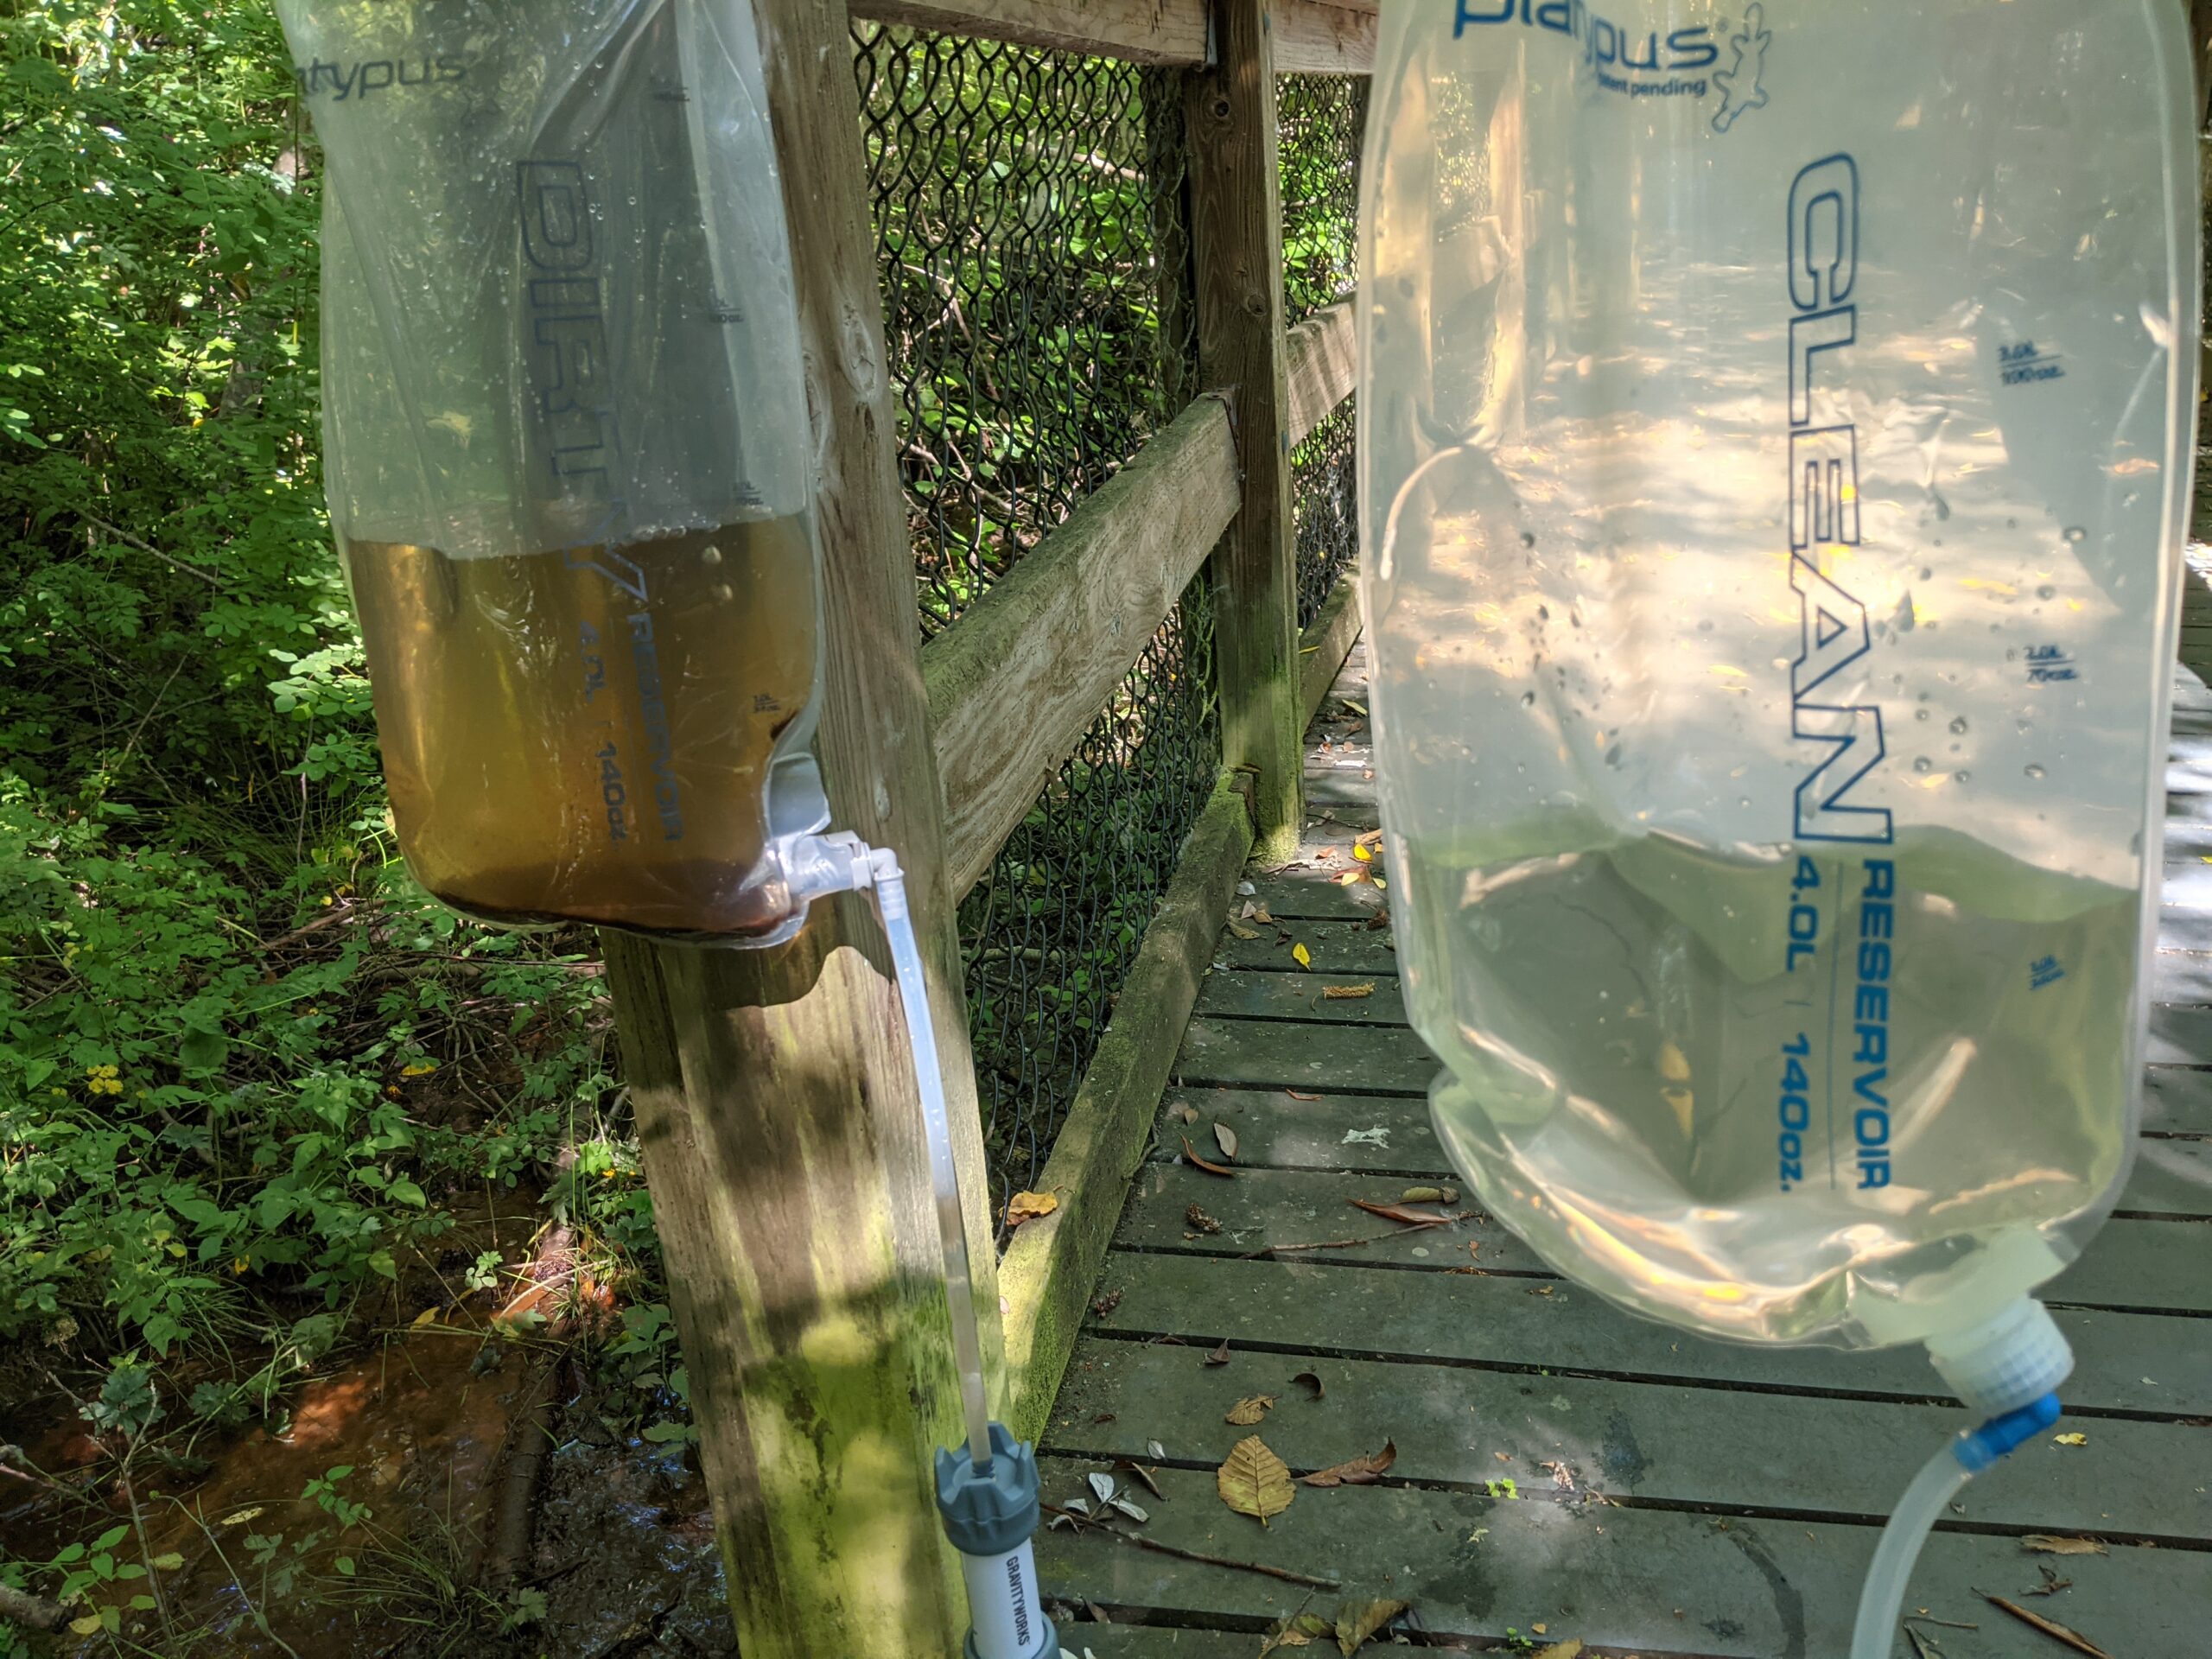
Unsurprisingly, some of the filters were really struggling at the end of this test. For the filters that took over two minutes to process a liter of water, I followed manufacturer directions to backflush (pushing water backwards through the filter) or otherwise clean the filter, noting that some filters could not be cleaned or backflushed.
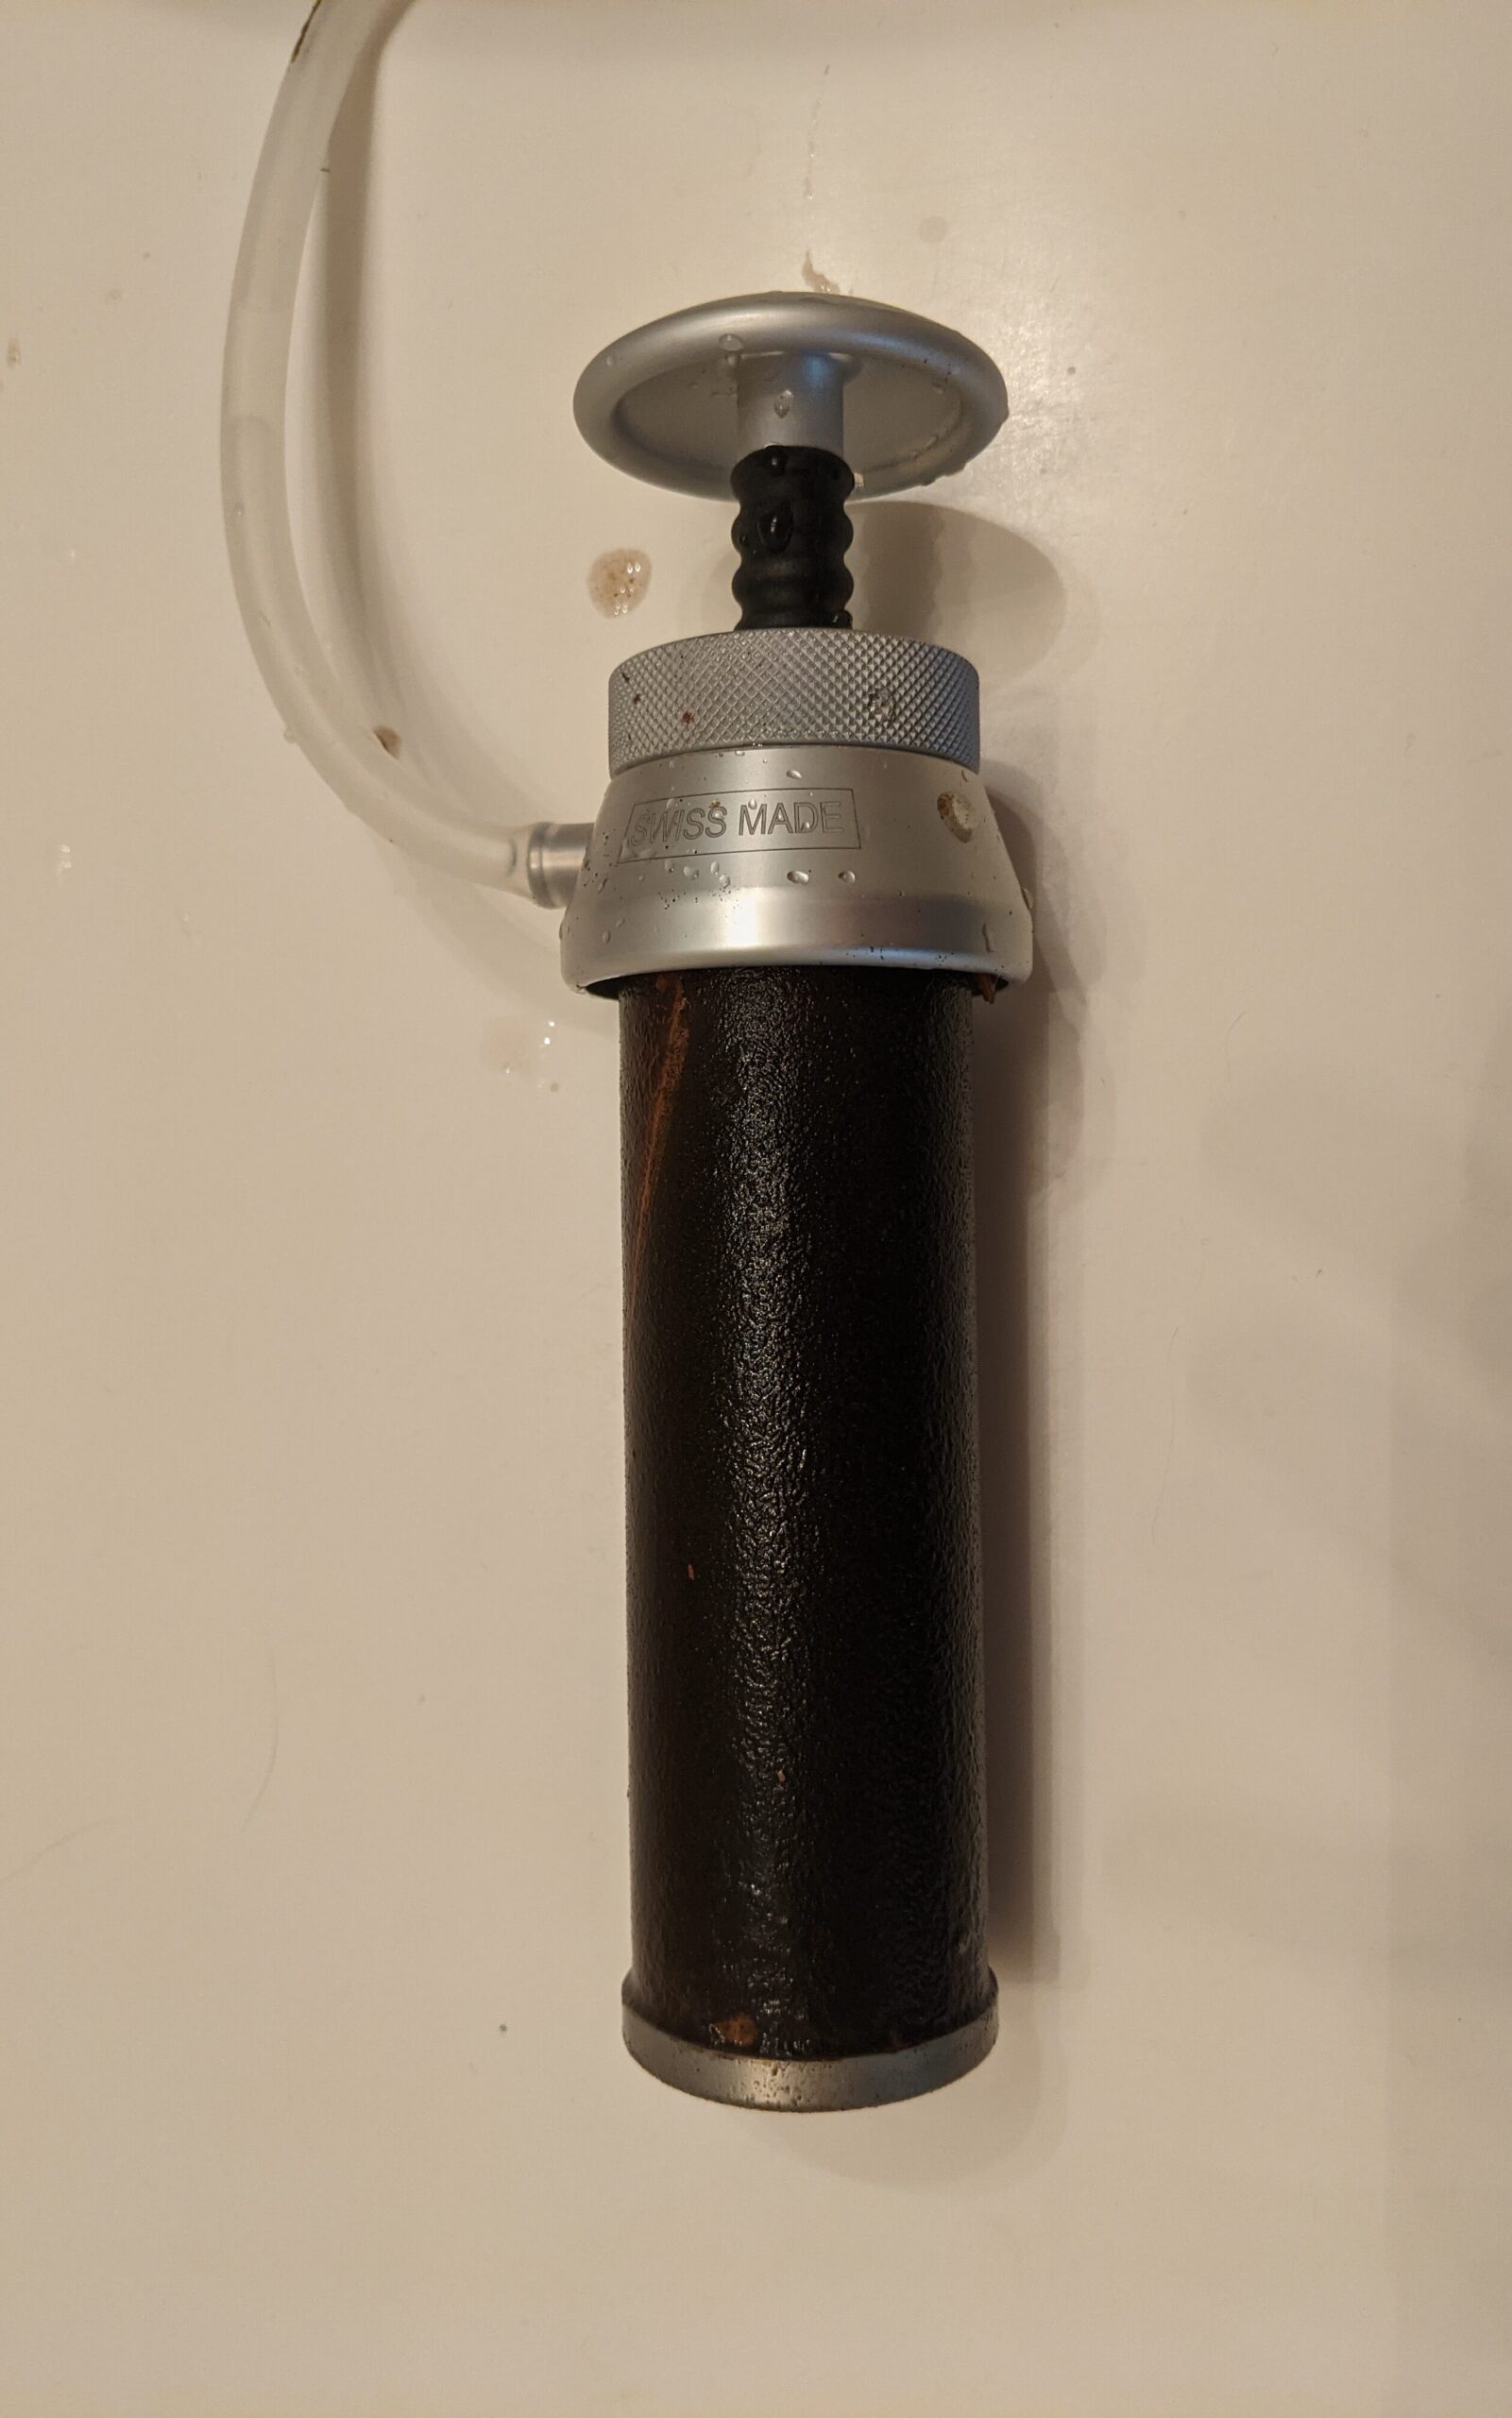
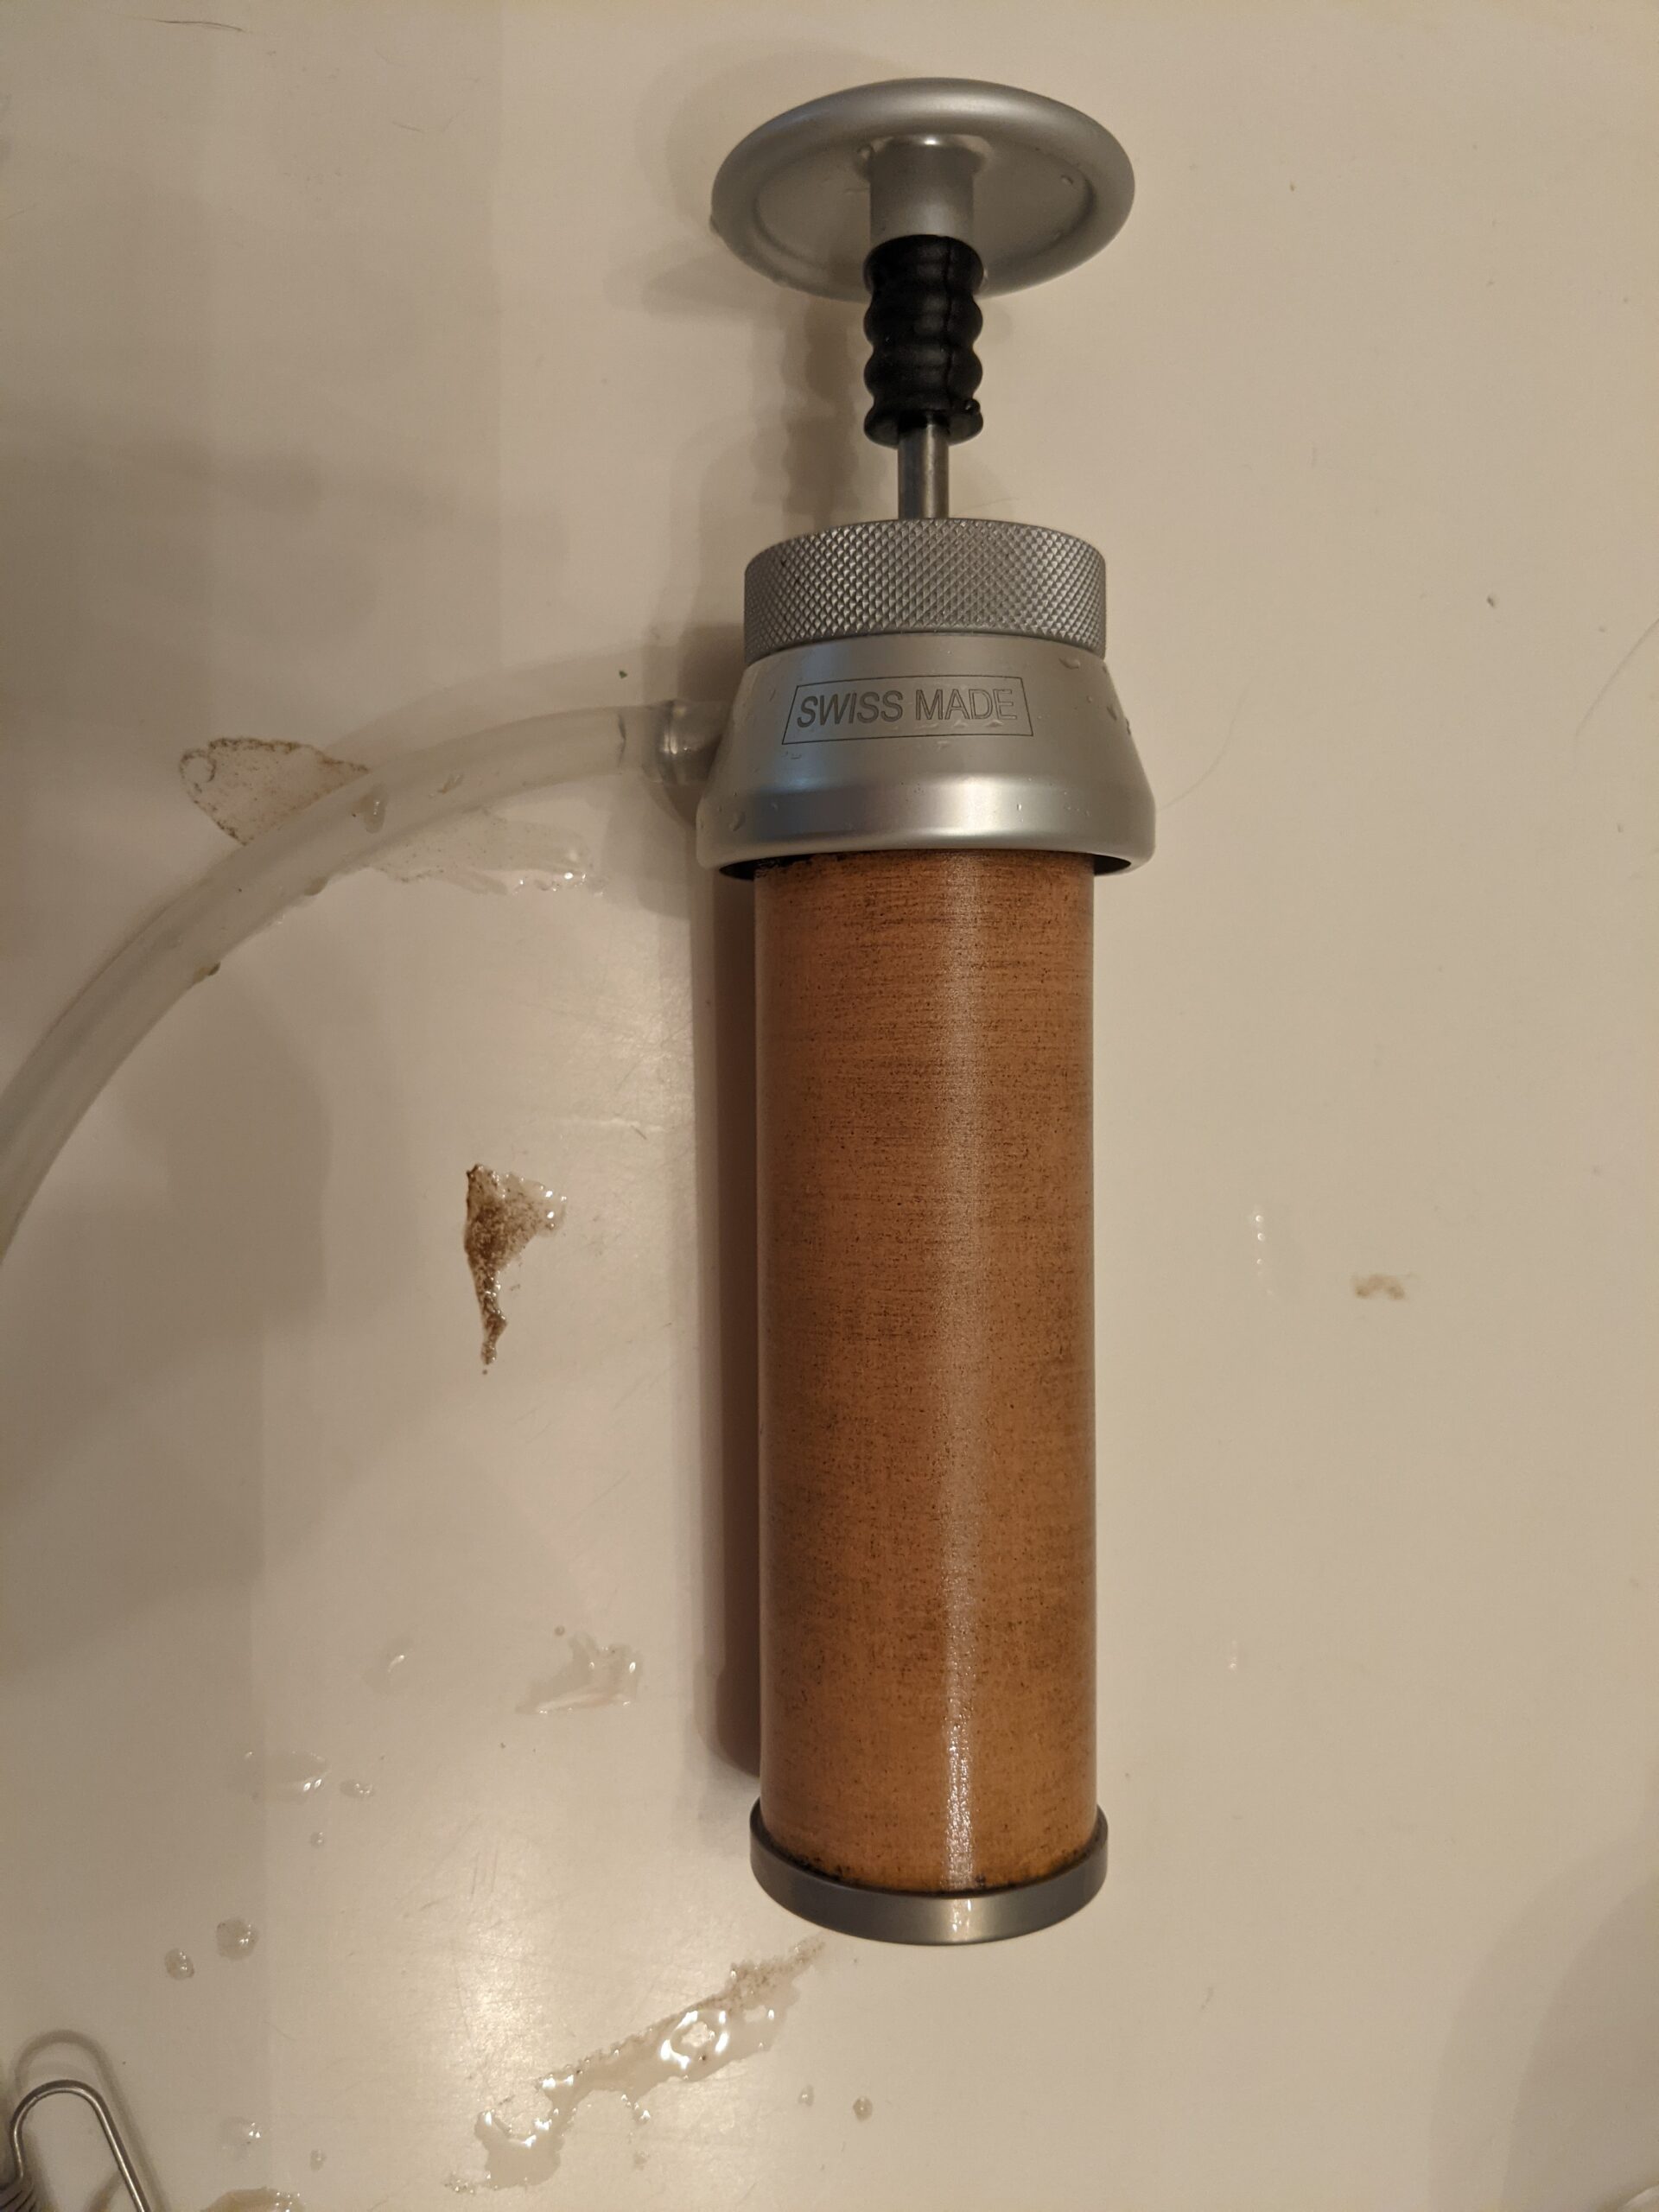
Then I retested those filters (the results are noted in a parenthetical in the below table) to see how effective cleaning the filters was at establishing water flow. The two filters that took over five minutes to process a liter of water at the end of the second round of testing, the LifeStraw Peak Series Gravity and the RapidPure Purifier+, were removed from the test at that time.
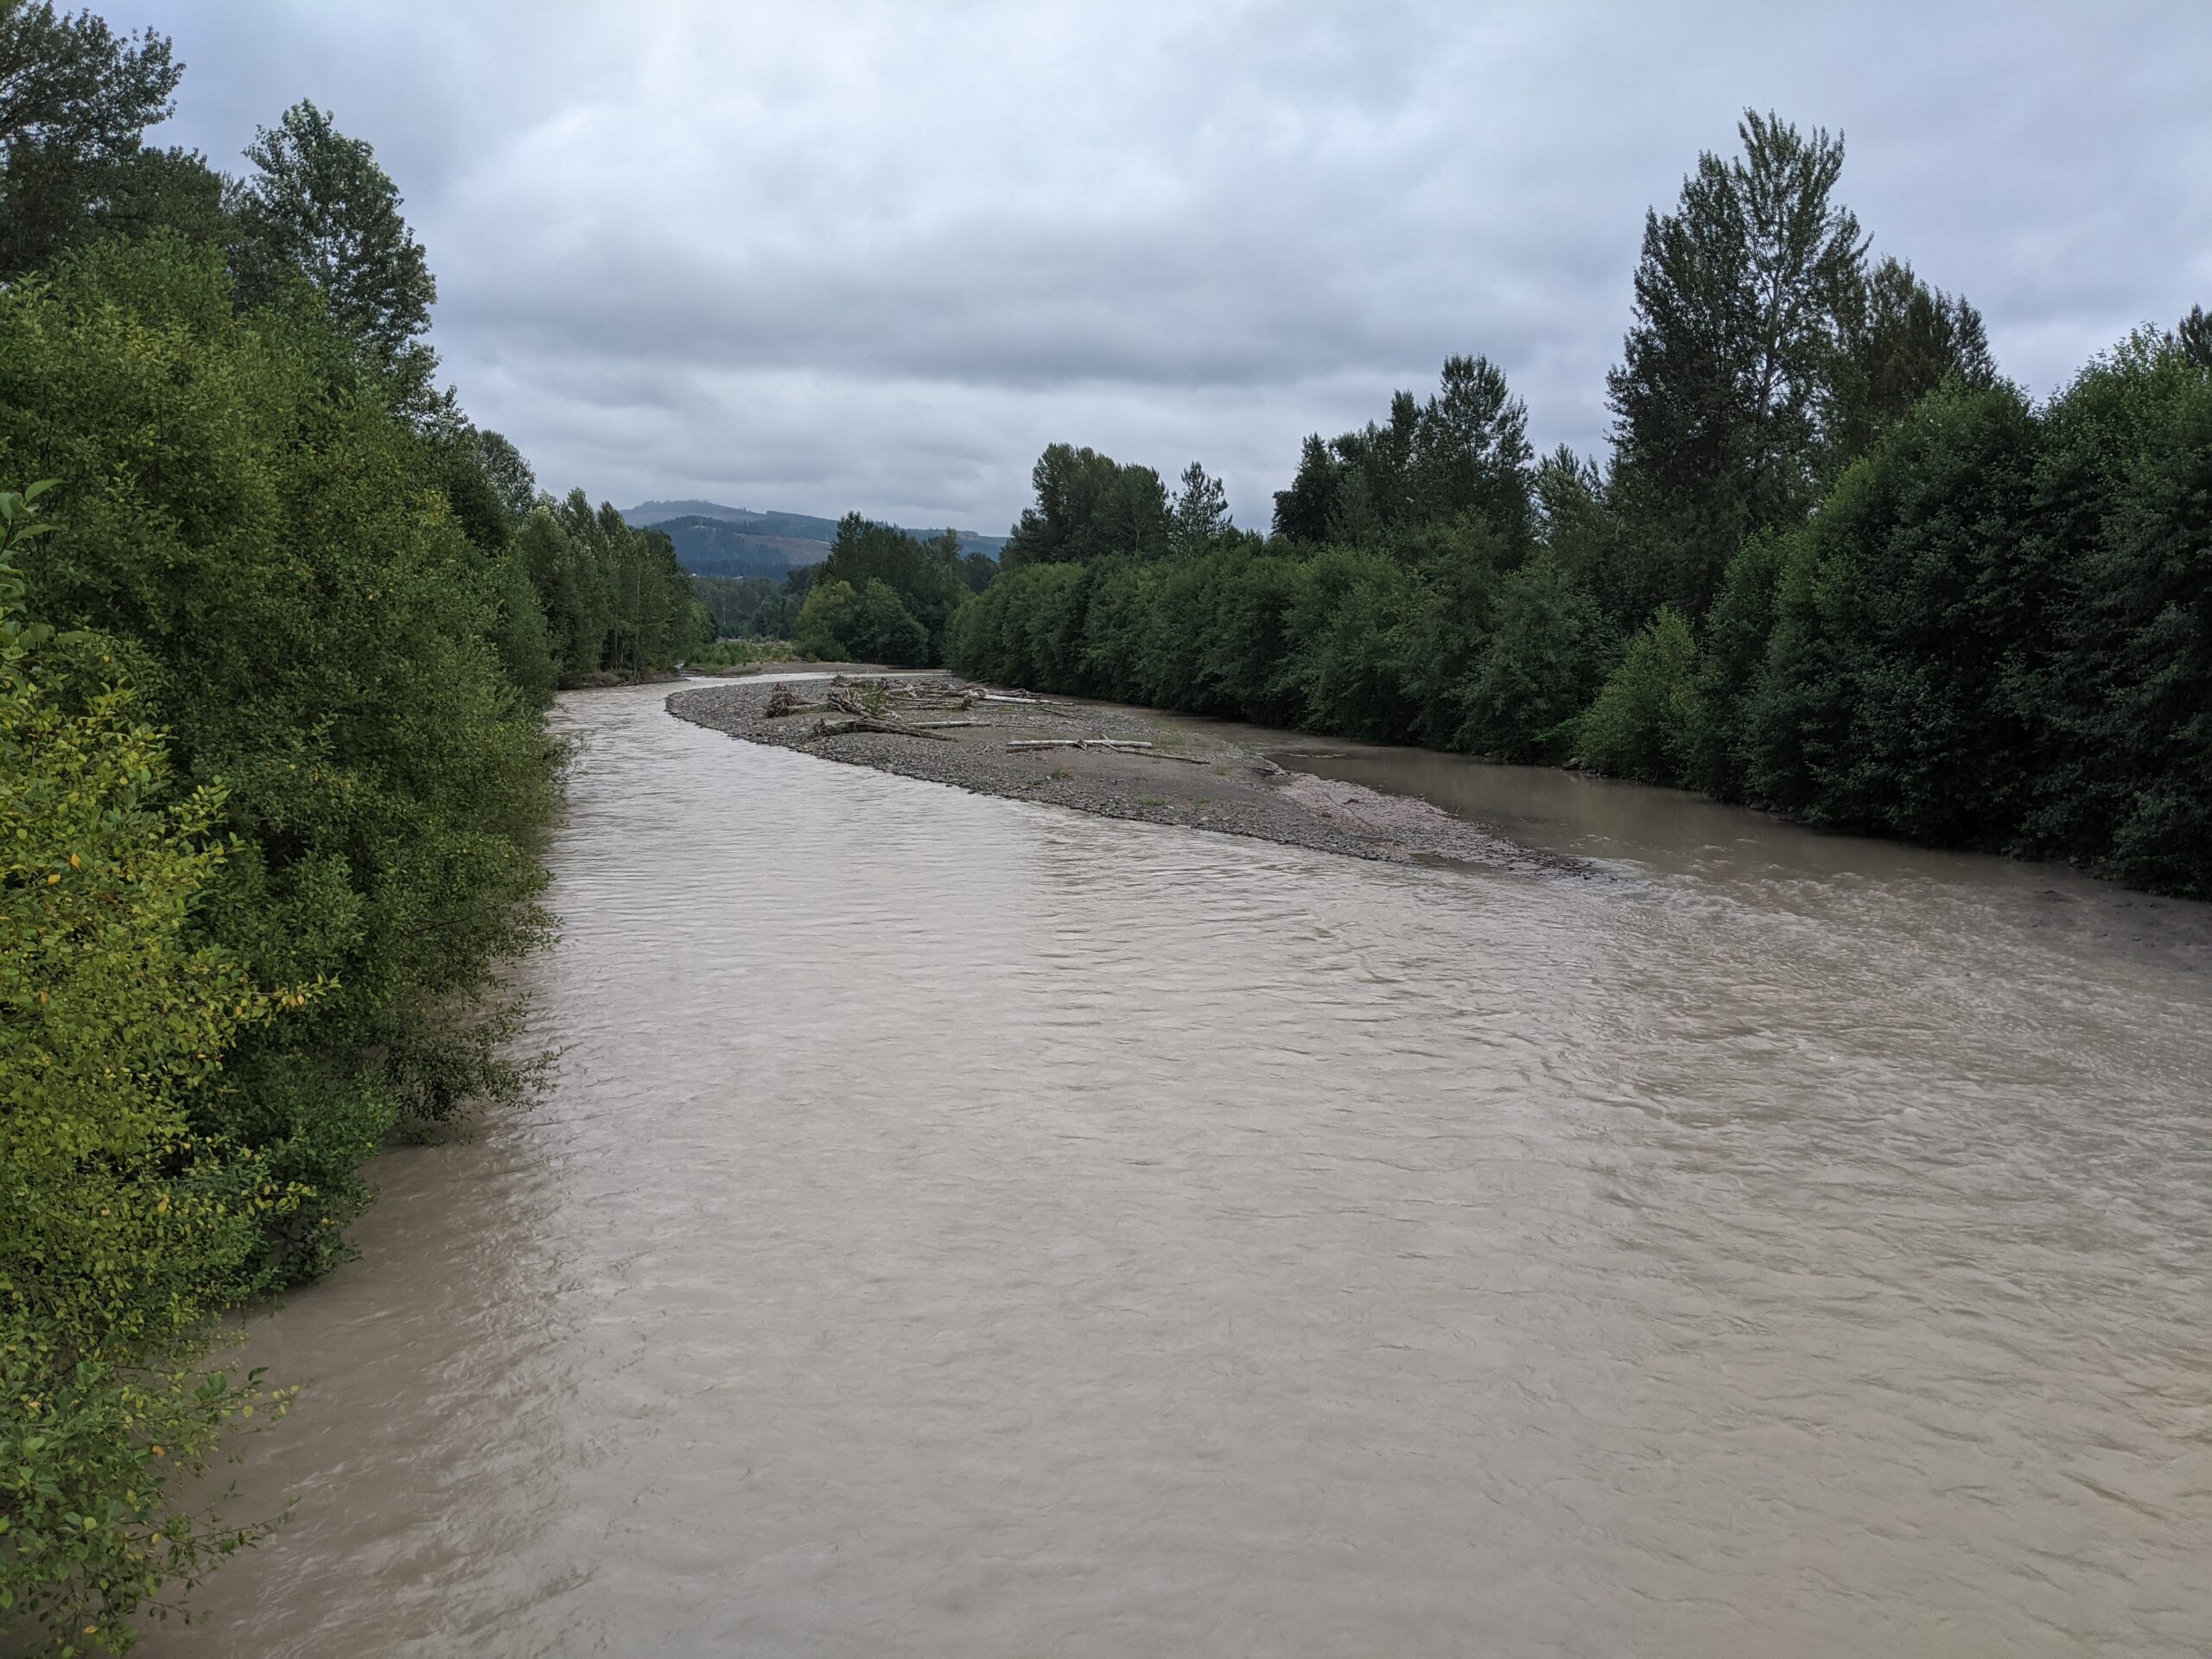
The final testing site was the Puyallup River, accessed at the town of Orting, Washington. At first glance, the Puyallup looks like any other muddy river. But the Puyallup gets its color from glacial sediment, an extremely fine silt that stays suspended in the water. This sediment also works its way into the inner workings of filtration systems like nobody’s business. No one would choose to filter this kind of water unless there was no other option available; sometimes, there is no other option available.
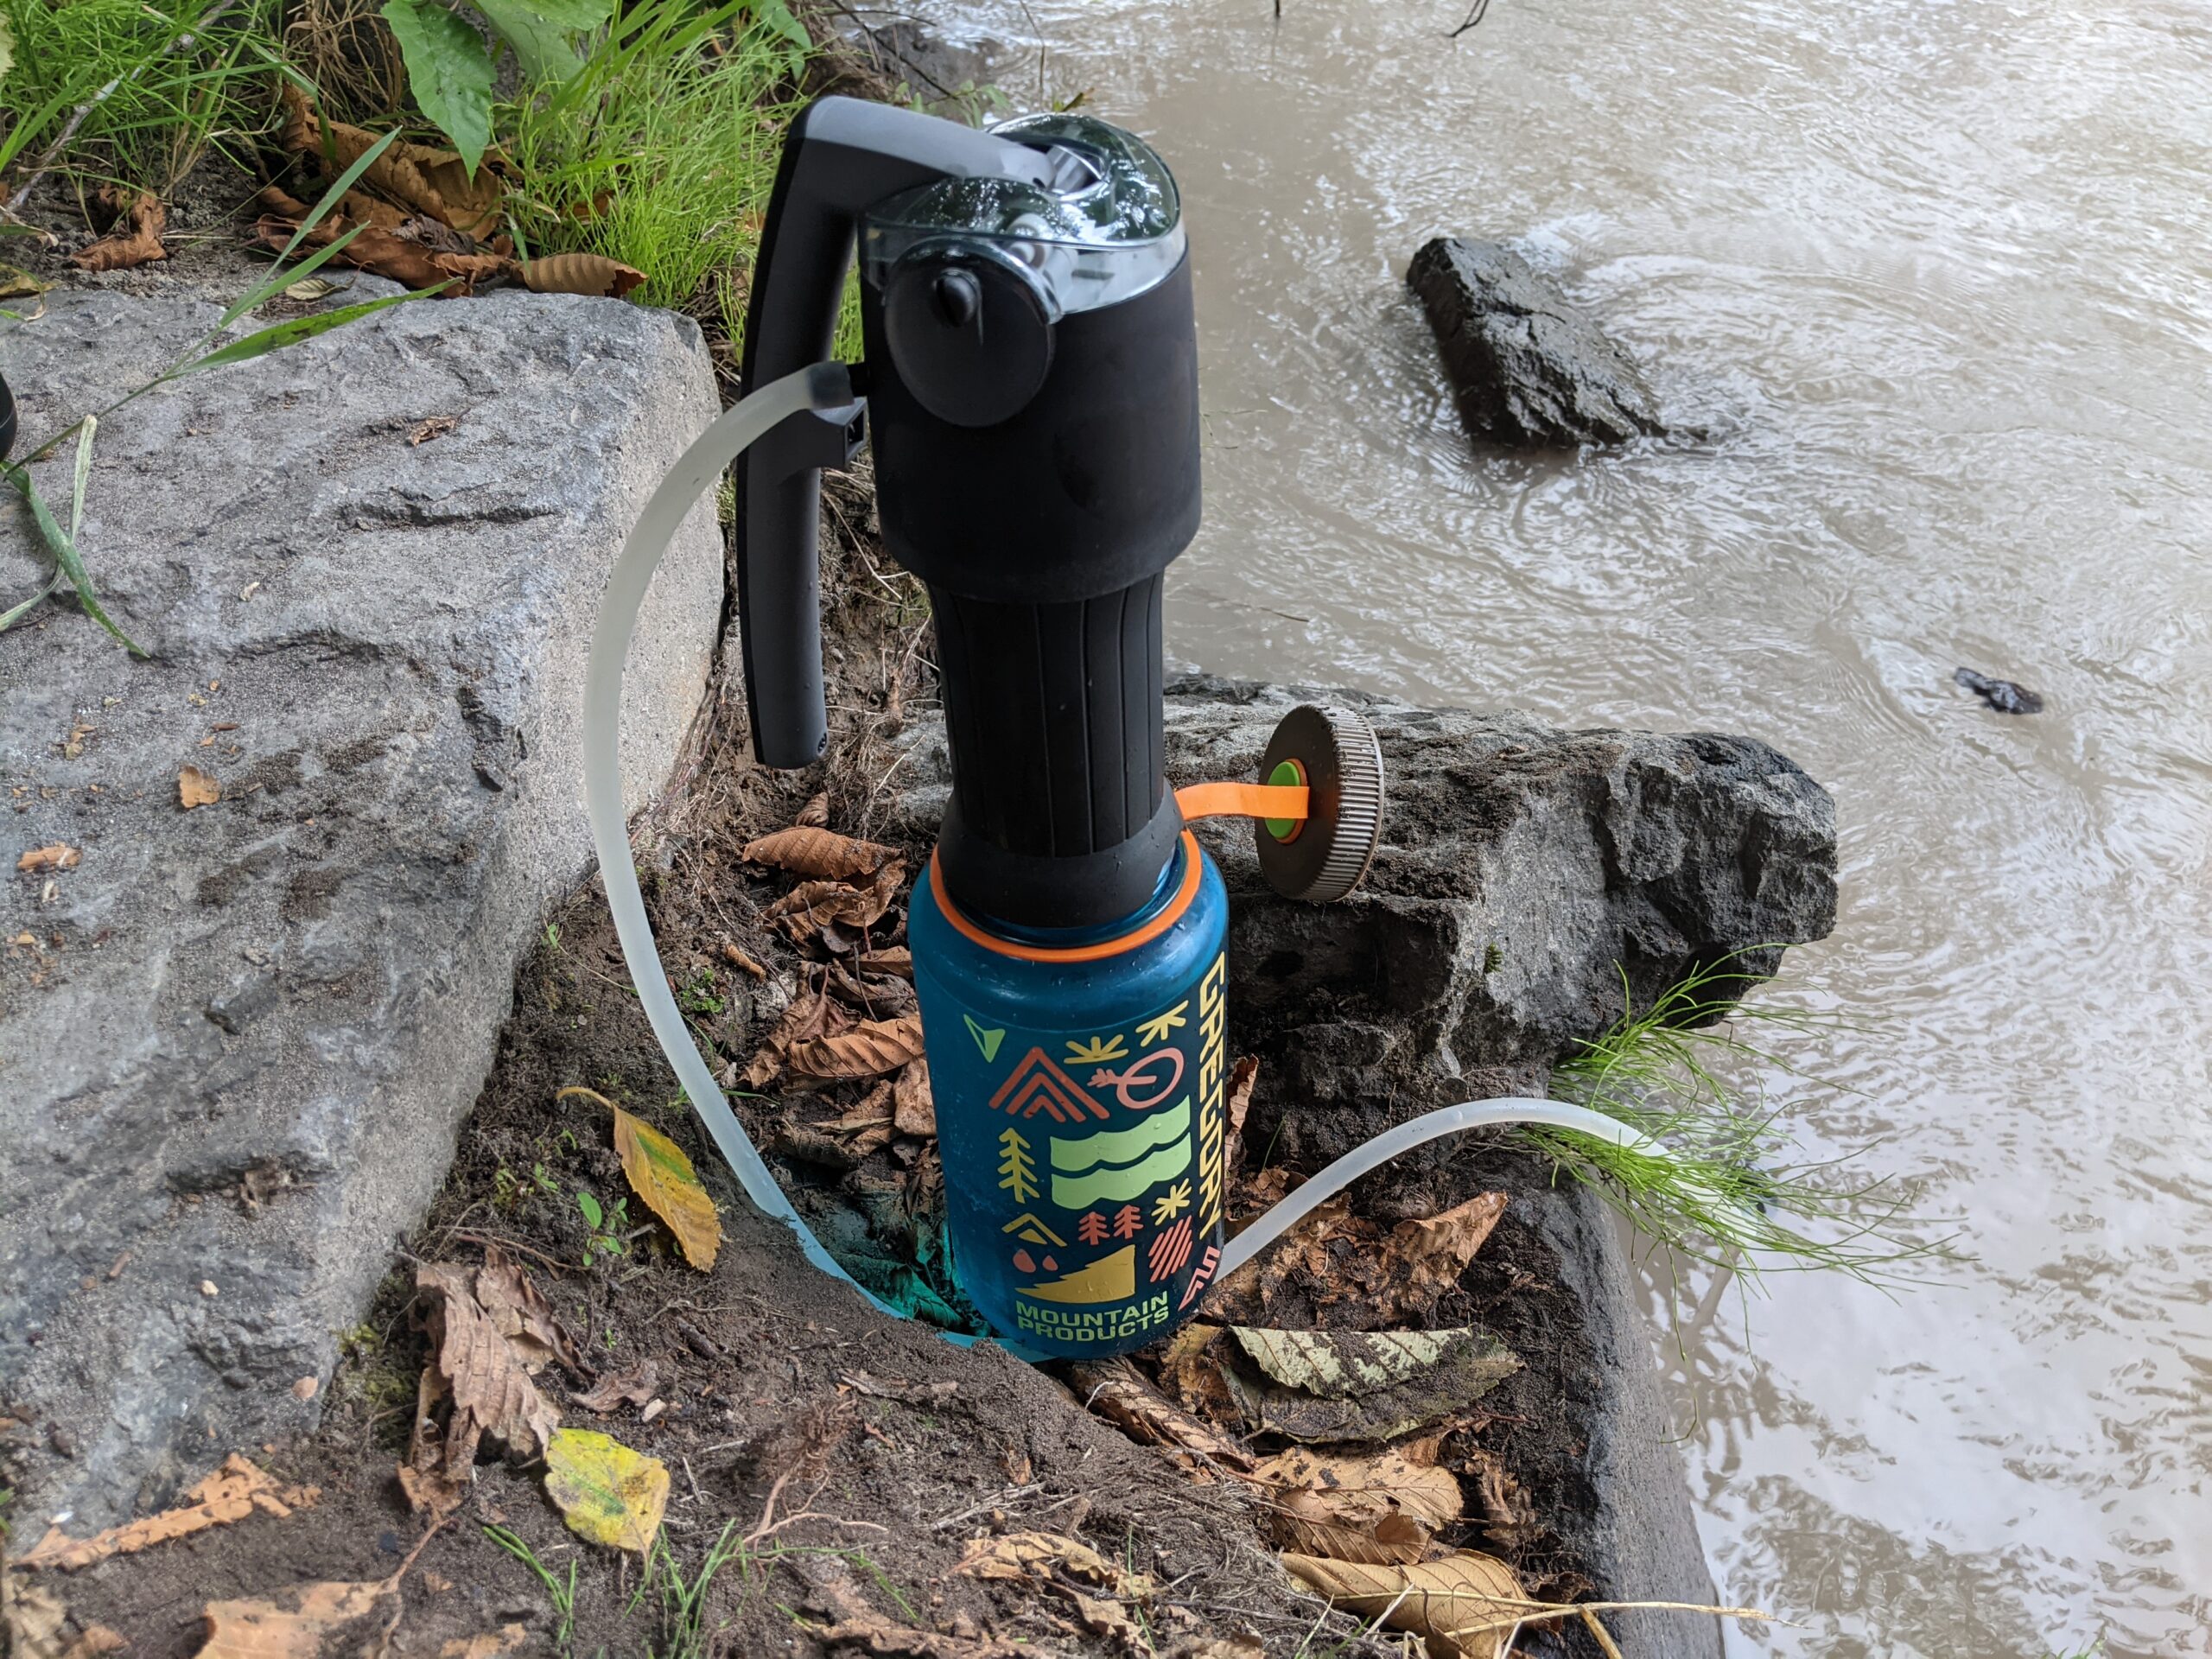
Unsurprisingly, many of the filters struggled with cleaning three liters of water during this test, and one (the MSR Miniworks EX) was removed from testing as it simply clogged up and stopped working. At the end of this round of testing, the filters were measured to see what their flow rate was. Next, the filters, where possible, were also backflushed, or otherwise cleaned, and then had their flow rate measured again. (Note that some of the times for this stage were again faster than the initial flow.
While I made an effort to standardize the amount of elbow grease I was putting into each filter during the timed test, it’s clear that I was putting more elbow grease into the final stage of testing than I did straight out of the box). The final step of this test was to reweigh each of the filters to assess how their weight had changed from the start of testing. I pumped out as much water as I could from each filter and then placed the filters in an enclosed room with a dehumidifier to remove excess water (without drying out the filter components themselves). After an hour, I took them out and reweighed them.
Gravity Filters
| Water Filter | List Price | Filter | Effective againstViruses? | Initial Weight | Out of the Box | Bacteria Beach | Tea-Colored Wetland | Glacial Runoff | After Backflushing or Cleaning | Final Weight |
| Time to Filter 1 Liter after Each Stage | ||||||||||
| Katadyn Gravity BeFree | $75 | Hollow fiber | No | 6.8 oz | 0:45 | 0:50 | 0:45 | 1:50 | 2:45 | 8.7 oz |
| LifeStraw Peak Series Gravity | $66 | Hollow-core membrane | No | 8.1 oz | 1:00 | 6:15 | 13:30(5:35) | – | – | – |
| Platypus GravityWorks | $150 | Hollow fiber | No | 11.5 oz | 1:10 | 1:40 | 2:00 | 59:10 | 7:30 | 12.8 oz |
Squeeze Filters
| Water Filter | List Price | Filter | Effective againstViruses? | Initial Weight | Out of the Box | Bacteria Beach | Tea-Colored Wetland | Glacial Runoff | After Backflushing or Cleaning | Final Weight |
| Time to Filter 1 Liter after Each Stage | ||||||||||
| Grayl UltraPress | $90 | Electro- adsorption, activated carbon |
Yes | 12.5 oz | 0:50* | 1:00 | 1:50 | 6:30 | N/A | 13.9 oz |
| Katadyn BeFree | $45 | Hollow fiber | No | 2.3 oz | 0:40 | 0:25 | 0:42 | 1:10 | 0:50 | 3.1 oz |
| LifeStraw Peak Series Collapsible Squeeze Bottle | $38 | Hollow-core membrane | No | 3.9 oz | 0:50* | 1:50 | 3:50(1:10) | 4:10 | 1:30 | 4.1 oz |
| MSR Trailshot | $61 | Advanced hollow fiber | No | 5.2 oz | 0:55 | 1:40 | 2:55(2:20) | 4:10 | 4:20 | 6.4 oz |
| Platypus QuickDraw | $50 | Hollow fiber | No | 3.4 oz | 0:35 | 0:35 | 1:30 | 1:30 | 0:40 | 4.2 oz |
| Sawyer Squeeze | $39 | Hollow-fiber membrane | No | 3 oz | 0:55 | 0:50 | 0:50 | 1:05 | 0:45 | 5 oz |
| Sawyer Mini Squeeze | $30 | Hollow-fiber membrane | No | 2 oz | 1:10* | 1:20 | 1:50 | 3:10 | 1:50 | 2.9 oz |
| RapidPure Purifier+ | $42 | Electro- adsorption, activated carbon |
Yes | 5.7 oz | 2:30 | 2:20 | 5:30(N/A) | – | – | – |
Pump Filters
| Water Filter | List Price | Filter | Effective againstViruses? | Initial Weight | Out of the Box | Bacteria Beach | Tea-Colored Wetland | Glacial Runoff | After Backflushing or Cleaning | Final Weight |
| Time to Filter 1 Liter after Each Stage | ||||||||||
| Katadyn Hiker Pro | $90 | Glass fiber with carbon core | No | 11 oz | 0:45 | 0:45 | 1:10 | 4:50 | N/A | 13.4 oz |
| Katadyn Pocket | $395 | Ceramic | No | 19.4 oz | 1:05 | 1:25 | 4:00(1:10) | 11:15 | 1:05 | 23.7 oz |
| Katadyn Vario | $92 | Ceramic, activated carbon | No | 15 oz | 0:30 | 0:35 | 0:40 | 4:25 | Stopped working at .2 liters | – |
| MSR Guardian | $390 | Advanced hollow fiber | Yes | 17.3 oz | 0:45 | 0:45 | 0:45 | 0:45 | N/A | 21.5 oz |
| MSR MiniWorks EX | $120 | Ceramic | Yes | 16 oz | 1:15 | 1:35 | 12:45(1:25) | Stopped working at 1.2 liters | – | – |
Additional testing was done on several chemical and UV treatment options as part of the inaugural Outdoor Life backpacking gear test. While chemical and UV treatment options do not remove any dirt or grit or microplastics from water sources, they can render bacteria, protozoa, and even viruses inert, making water safe to drink.
Best Backpacking Water Filters: Reviews & Recommendations
See It
Key Features
- Effective against protozoa and bacteria
- Weight: 3.4 ounces (initial); 4.2 ounces (end of testing)
- Time to filter a liter of water: 0:35 (initial); 0:40 (end of testing)
Pros
- The fastest filter I tested overall
- Lightweight
- Durable
- Can be paired with a SmartWater bottle
Cons
- Backflushing was more complicated than the Sawyer Squeeze or Katadyn BeFree
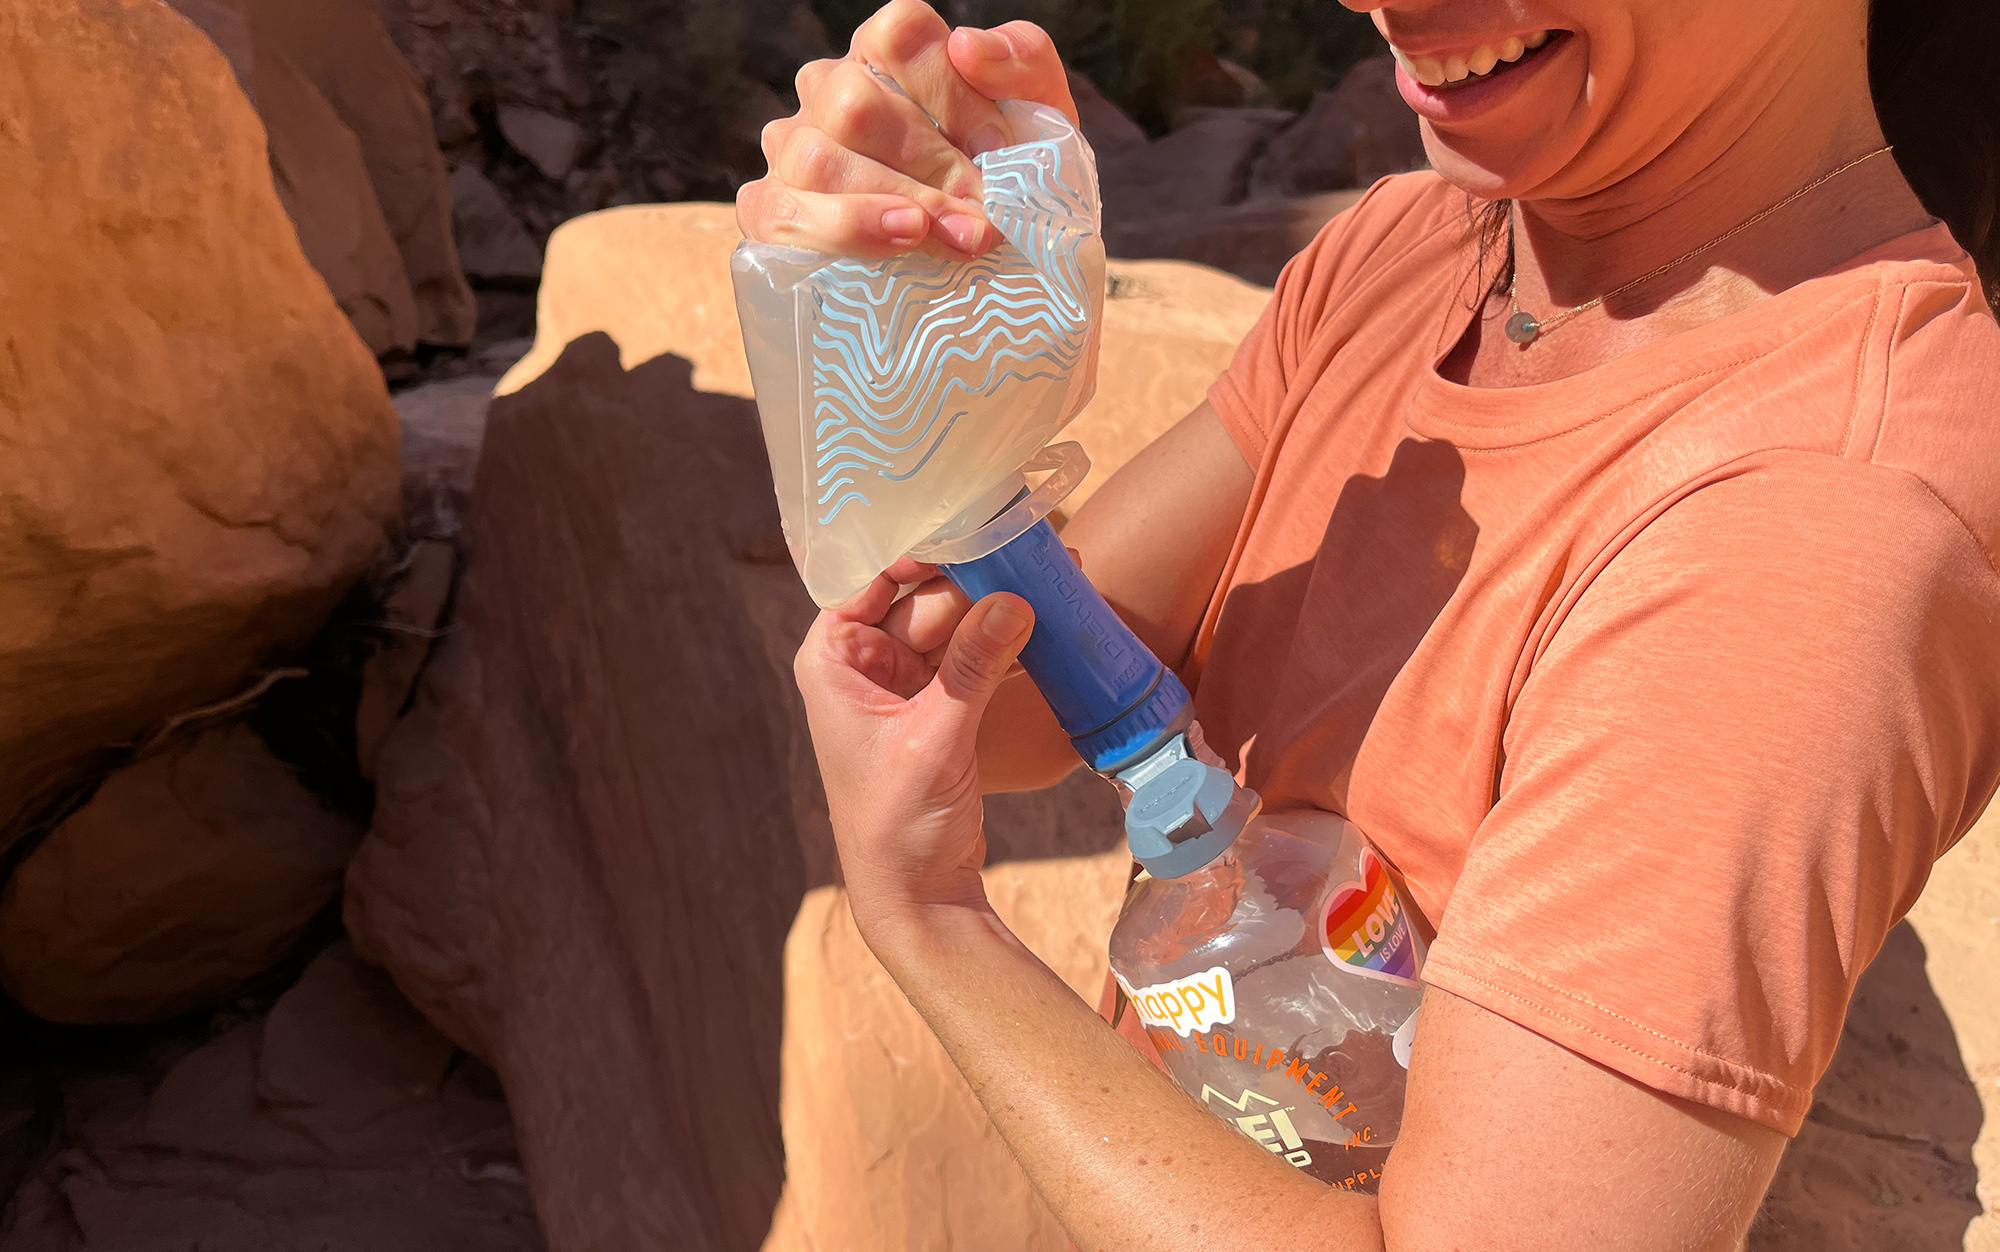
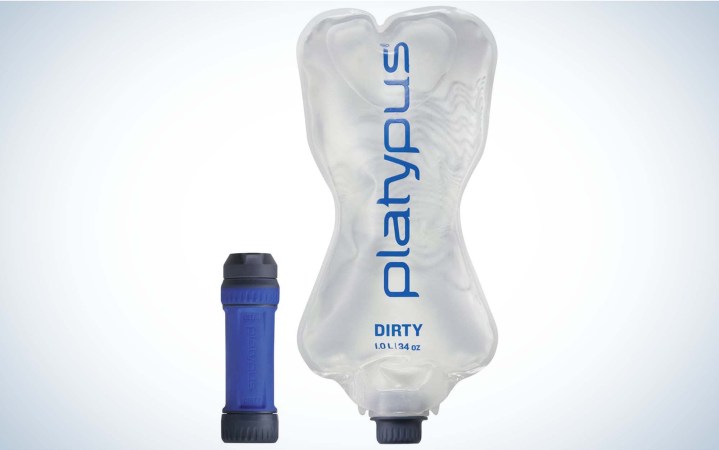
While the Platypus QuickDraw was a hair behind the Katadyn BeFree after the initial round of testing, it was out in front of the pack at the end of testing. The only round where the QuickDraw struggled was in the mucky water of the wetland, although I didn’t backflush it until after the glacial runoff round as its flow was still ahead of the majority of filters. Once backflushed, its performance was restored to close to the level that it had out of the box.
Unlike the Sawyer Squeeze, you can backflush the Platypus QuickDraw with a SmartWater bottle. While I appreciated that I didn’t need a separate tool to backflush the Platypus QuickDraw (something I’m prone to losing), I did find that the cap to the filter prevented me from creating a flush seal with the clean side of the filter.
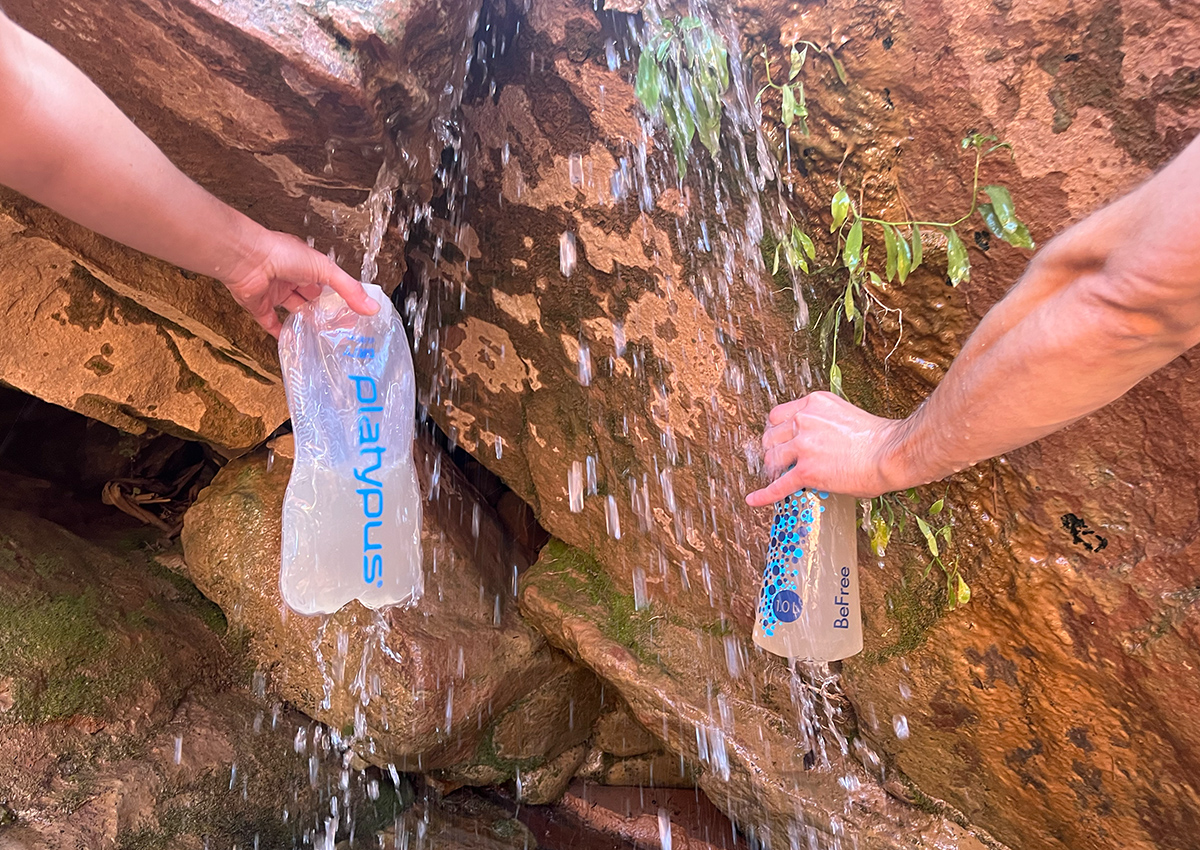
That being said, the Platypus QuickDraw cap was much more durable than either the Sawyer Squeeze’s (broken by the end of testing) or the Katadyn BeFree’s (getting there). While you can continue to filter water just fine without a cap, having it will help to increase the lifespan of your filter. I also found that the soft pliable material of platypus dirty sack combined with the positioning of the filter element on the interior (rather than on the inside of the bag), made this the most pleasant filter to squeeze water out of in my test.
See It
Key Features
- Effective against protozoa and bacteria
- Weight: 2.3 ounces (initial); 3.1 ounces (after testing)
- Time to filter a liter of water: 0:40 (initial); 0:50 (after testing)
Pros
- Easy to clean
- Fast flow
- Lightweight
Cons
- Difficult to squeeze all of the water out of the bag
Ashley Thess
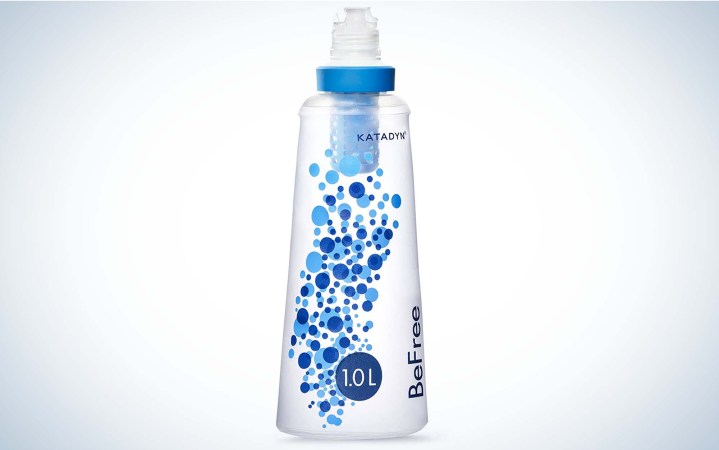
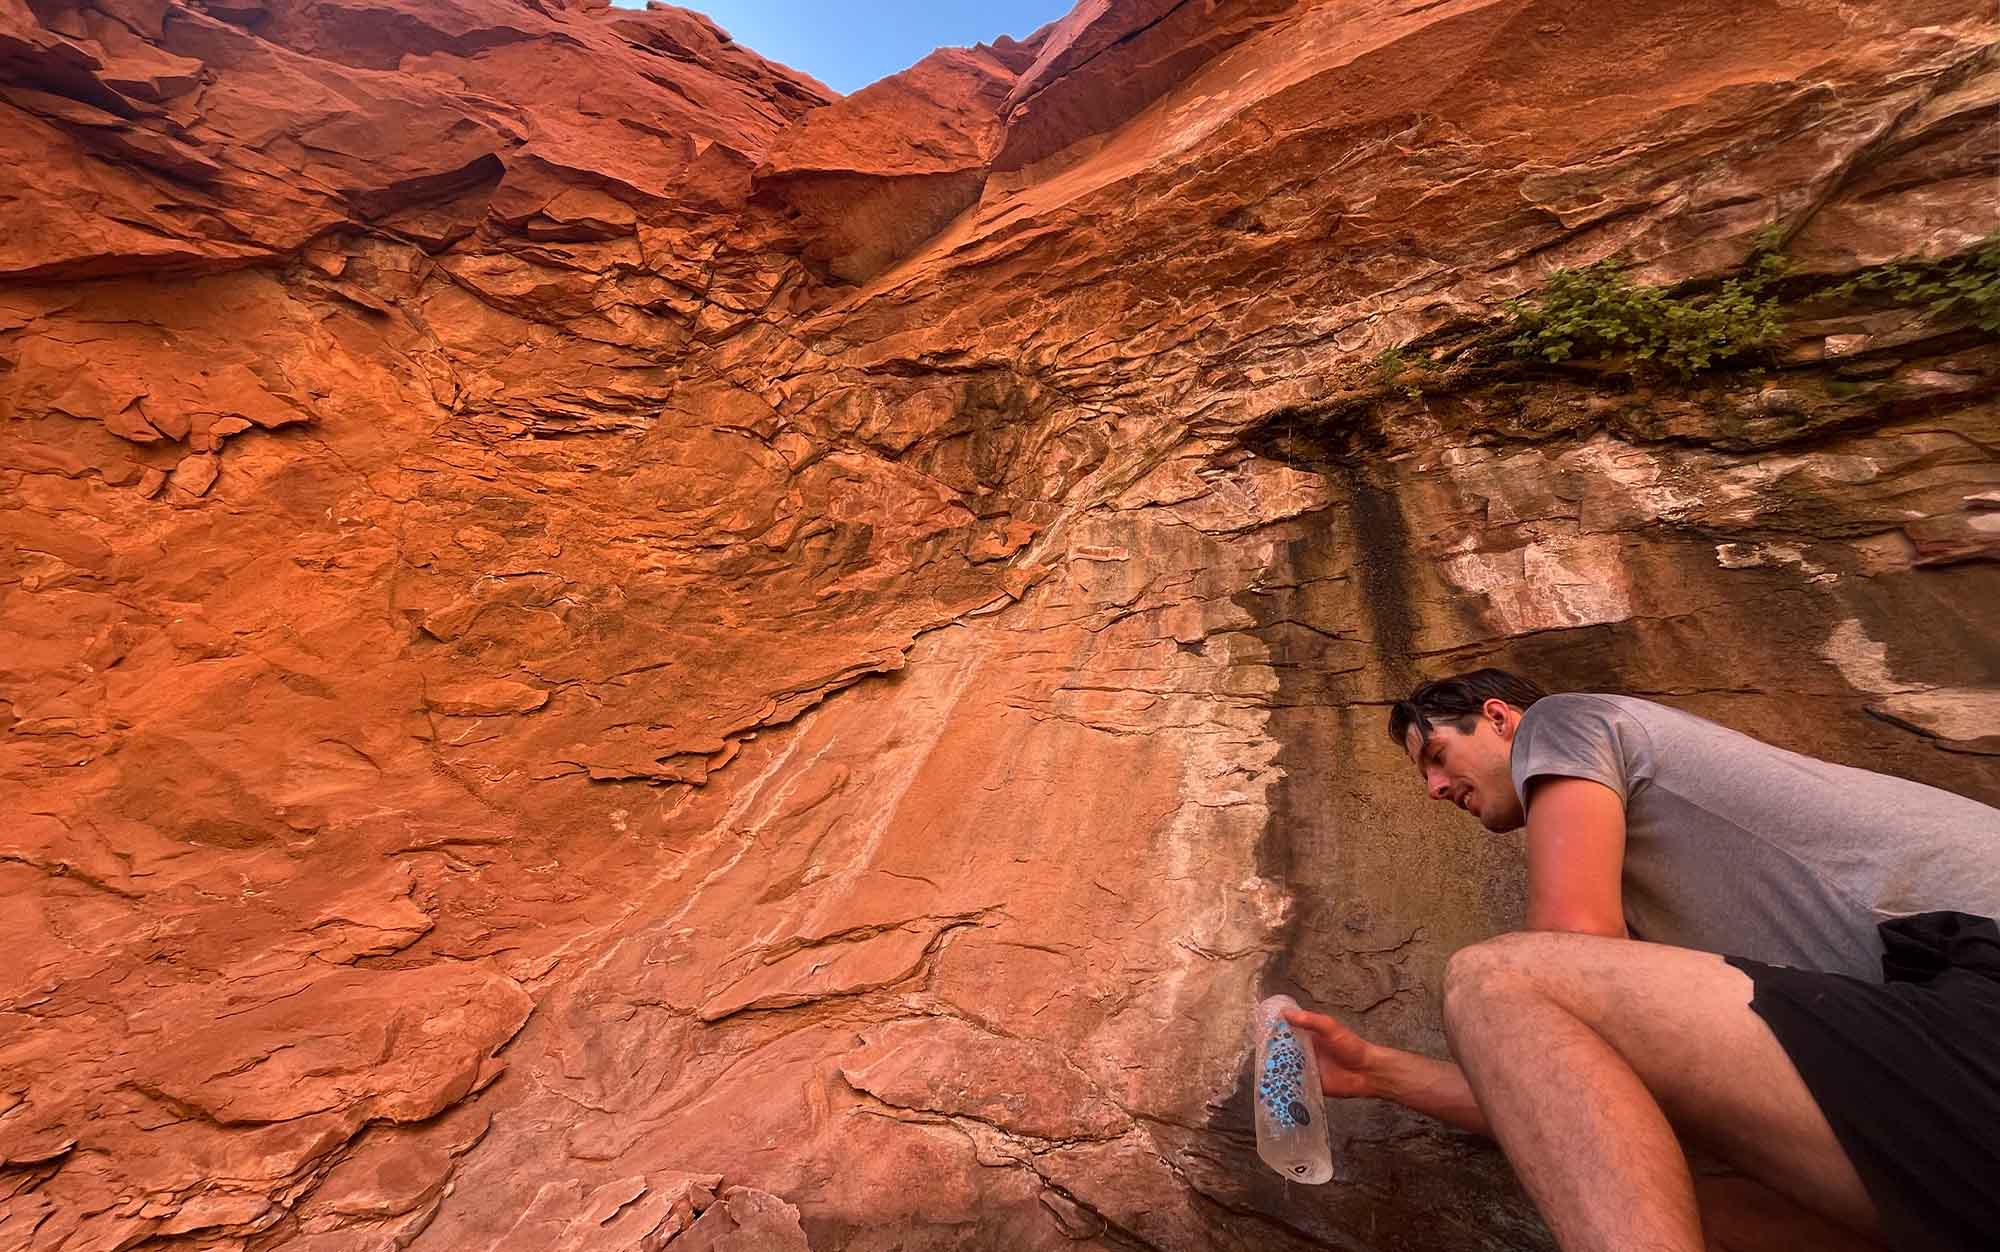
When it came time to clean the filters after three rounds of testing, I spent a lot of time on YouTube, learning how to clean ceramic filters and backflush with a SmartWater bottle. But when it was time to clean the BeFree, the instructions were almost comically simple. Just take it out of the bag, place it in a clean bowl of water, and swish it around a little. To be honest, I was doubtful this was going to do much, but I knew from conversations with the folks at Katadyn that backflushing this filter was not an option, as it may damage the hollow fibers and impair their ability to weed out protozoa and bacteria.
To my surprise, the swishing appeared to work. The bowl of water quickly became a murky brown. I repeated the process a couple of times and retested: the flow rate had improved by almost 20 percent. Not bad.
The Katadyn BeFree was the second lightest filter I tested, weighing a mere .2 ounces more than the Sawyer Mini despite coming with a larger dirty water sack—if you paired the Sawyer Mini with a SmartWater bottle instead of the provided dirty water sack, this would be the lighter of the two. For UL purists looking to update their Sawyer Squeeze, this should definitely be in contention.
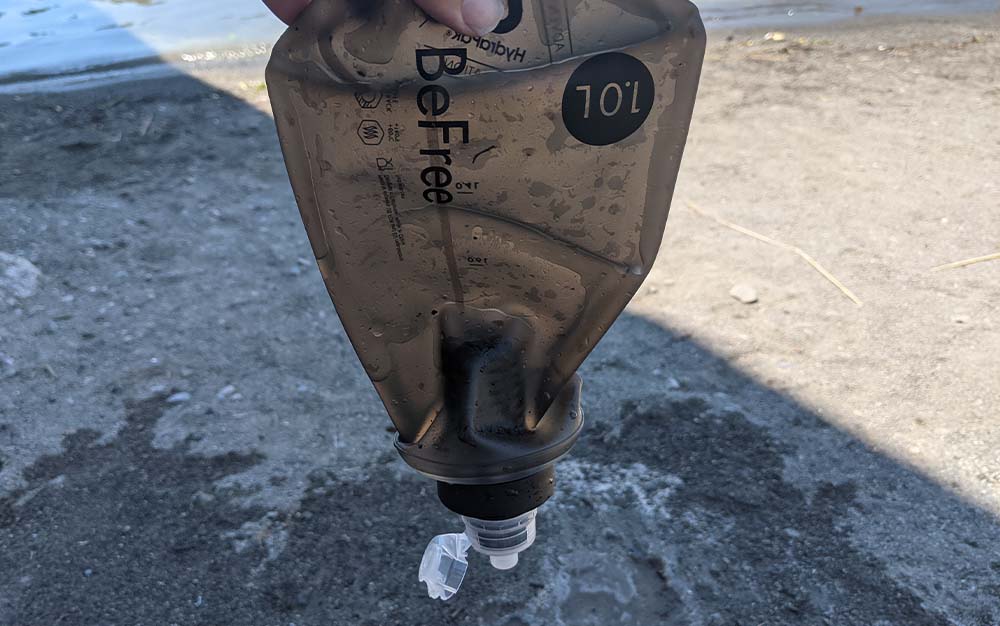
There were a couple of things that I wish were different about the Katadyn BeFree. First off, the filter is housed inside of the dirty water bag, which makes it difficult to squeeze all of the water out—most of the time, this won’t be a big deal, but if you’re sitting at a seep in the Southwest, where the water is coming out at a trickly liter every 10 minutes, it could start to get old. The other is the design of the lid cap, which basically resembles what you would see on a sports drink at the convenience store. When I lightly twisted it to test the durability it started to snap off. Of course, I can still use the filter as long as I hold onto the cap, but I would rather see a more durable cap in exchange for a few extra grams.
See It
Key Features
- Effective against protozoa and bacteria
- Weight: 3 ounces (initial); 5 ounces (end of testing)
- Time to filter a liter of water: 0:55 (initial); 0:45 (end of testing)
Pros
- Less expensive than its rivals
- Fast flow
- Lightweight
- Can be paired with a SmartWater bottle
Cons
- Requires a separate tool to backflush
- Picked up 2 ounces between the start and end of testing
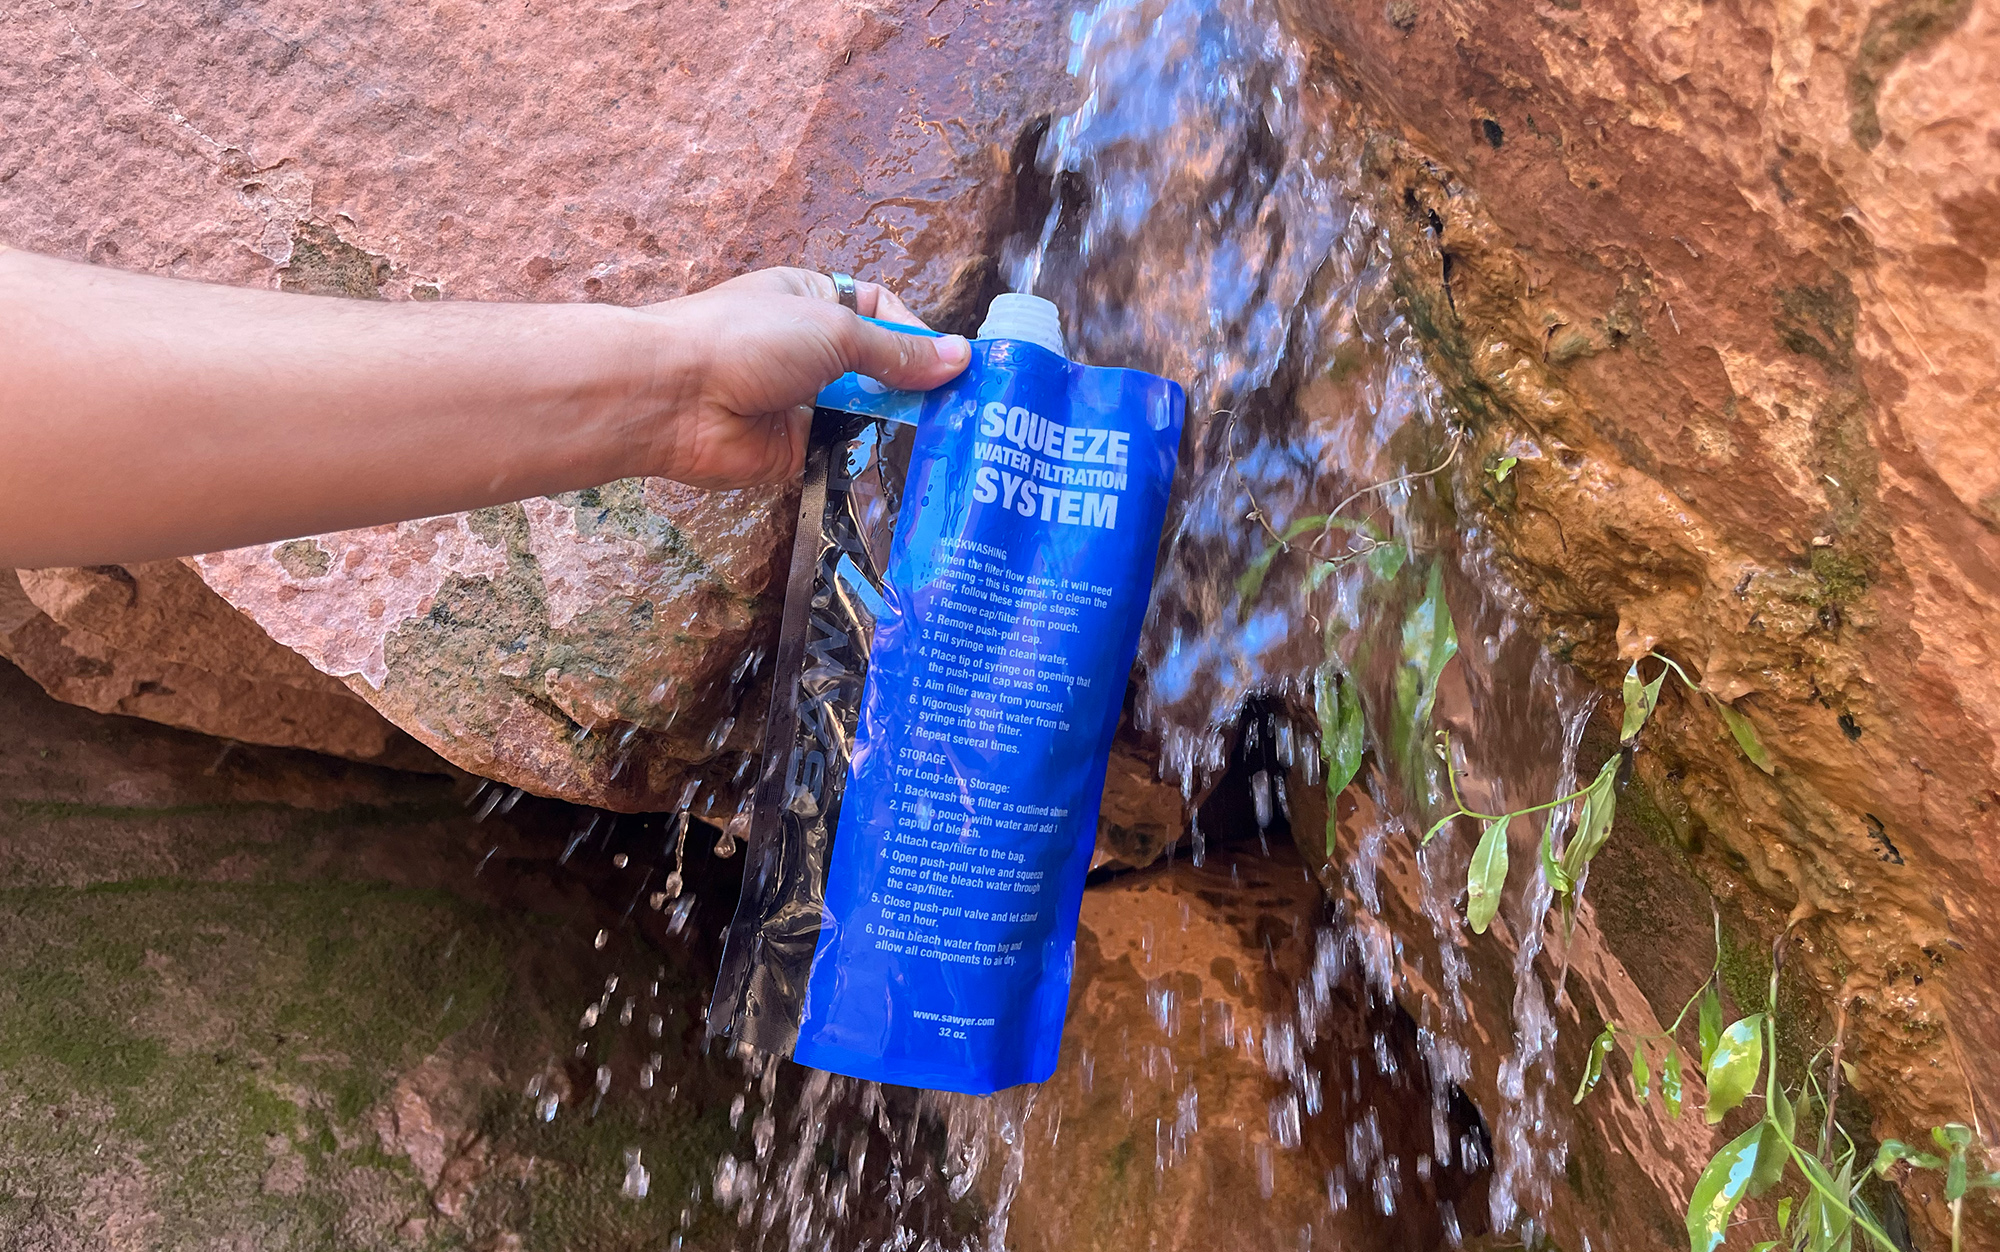
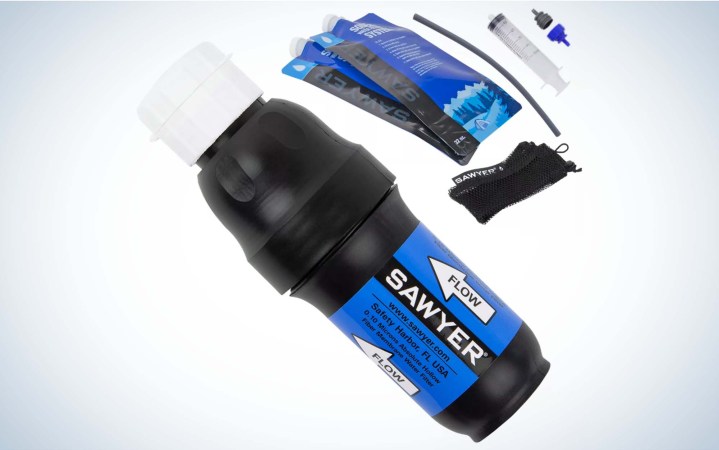
The Sawyer Squeeze has been a backpacking mainstay for decades and testing showed that hikers’ loyalty is well-founded. While this filter was slower than both the Platypus Quickdraw and the Katadyn BeFree during the first round of testing (by about 15 seconds and 25 seconds respectively), it was out ahead of the BeFree by the end of testing, and only 5 second behind the QuickDraw. While my testing showed that the Sawyer Squeeze was faster at the end of testing than it was at the start, I suspect that I had simply gotten used to putting in an excessive amount of elbow grease into the filters after pushing over 40 liters of glacial runoff through 14 filters.
Part of what makes this filter so effective is its backflushing system, which involves filling a simple syringe with water and then pushing its contents into the outflow nozzle on the filter. After running the filters through three liters each of the Puyallup River, I wasn’t surprised to see the water shoot out brown initially, but it cleared up after only a couple of rounds of backflushing.
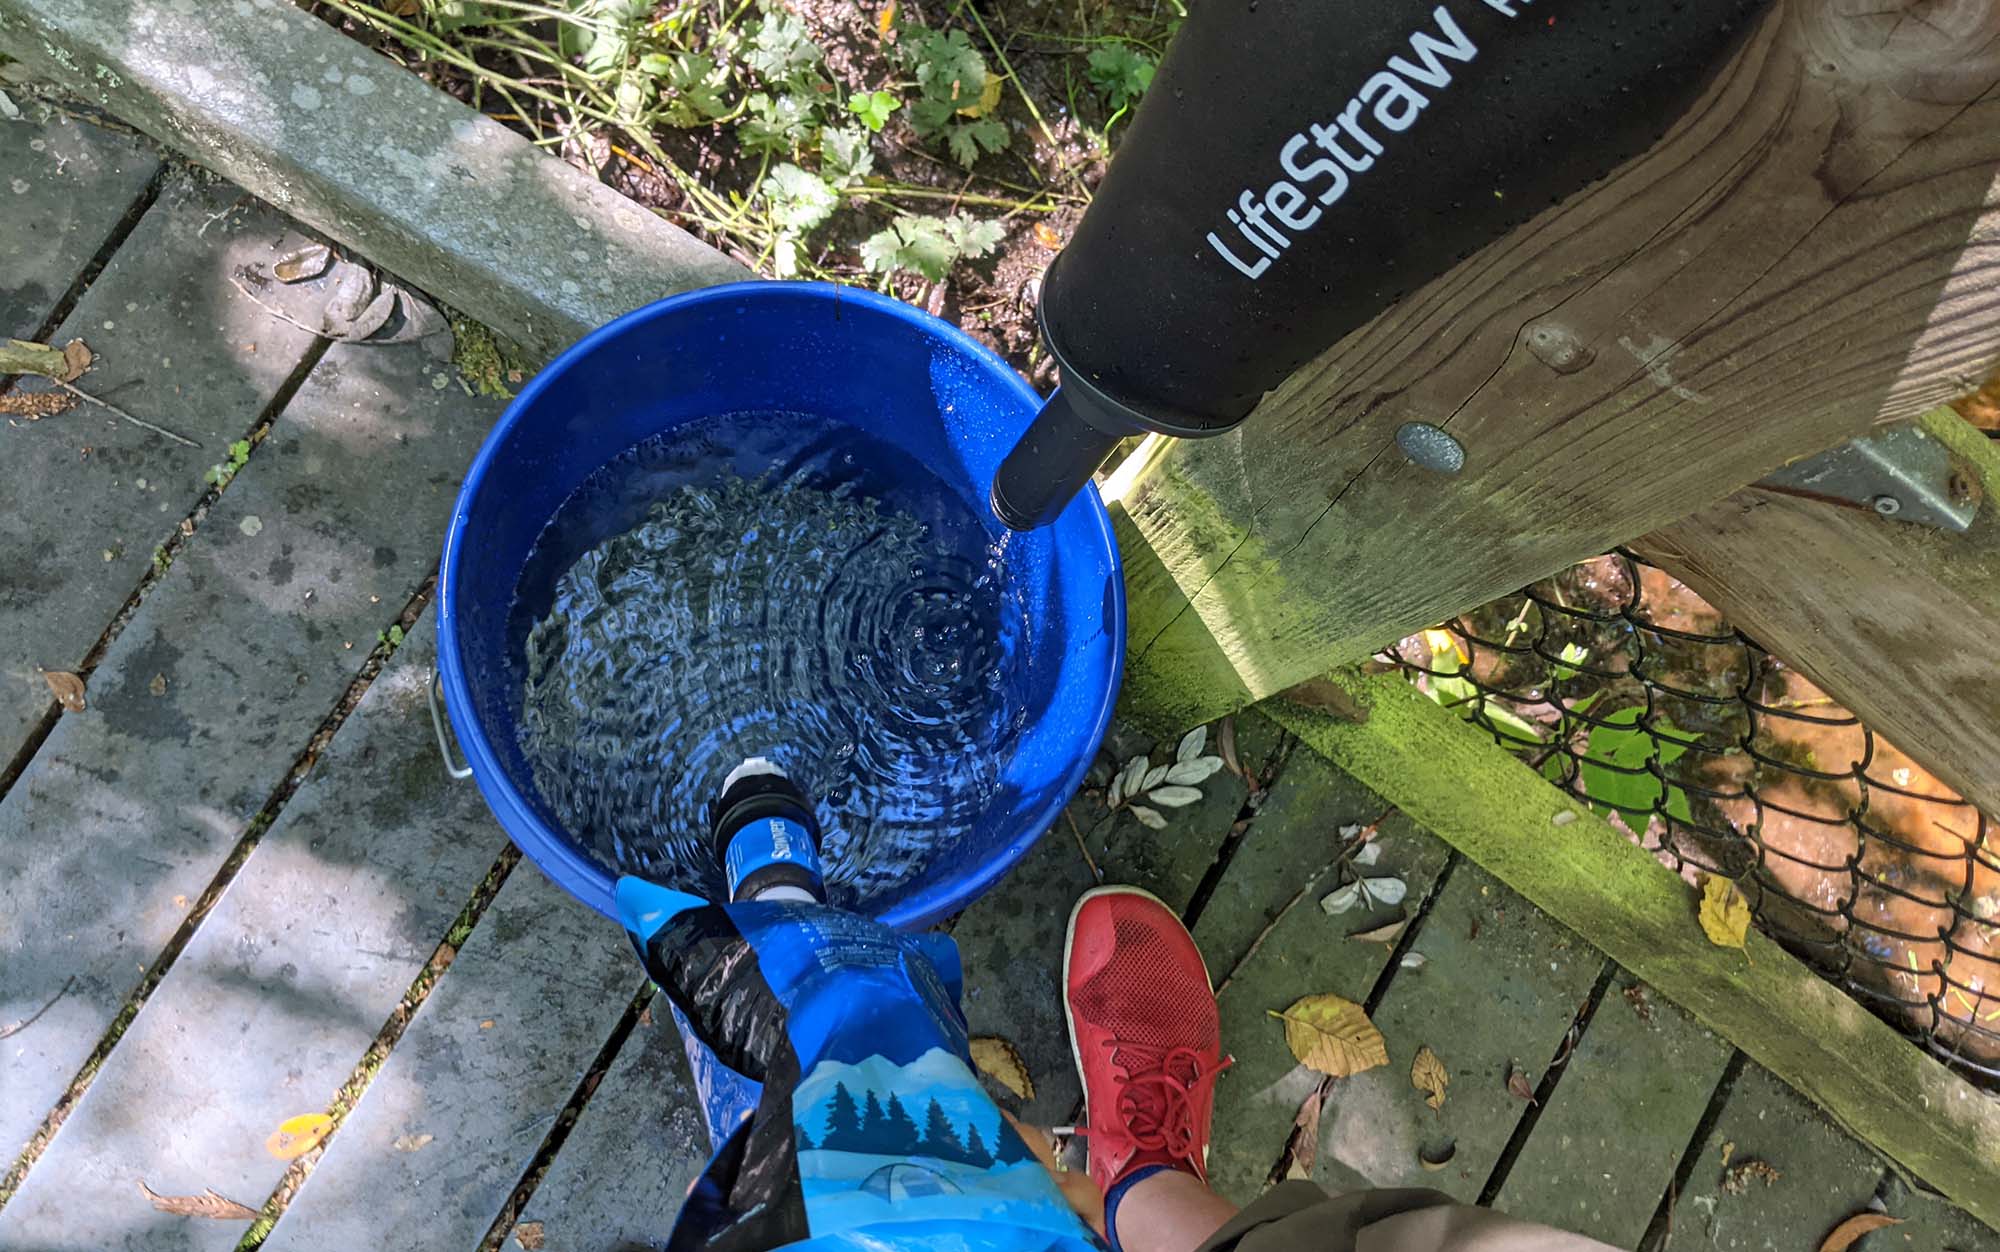
Unfortunately, the Sawyer Squeeze picked up two ounces of weight between the start and end of testing, suggesting that it’s holding onto more moisture (and potentially unbackflushed grit) inside the filter than other comparative models.
See It
Key Features
- Effective against protozoa and bacteria
- Weight: 2 ounces (initial); 2.9 ounces (after testing)
- Time to filter a liter of water: 1:10 (initial); 1:50 (after testing)
Pros
- Lightest filter in my test
- Least expensive filter in my test
- Smallest filter in my test
Cons
- Took twice as long to filter a liter of water as some of the other top picks
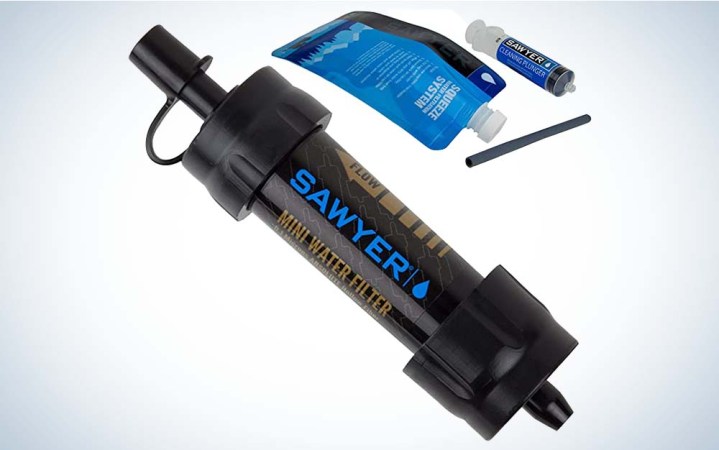
The mini-me version of the Sawyer Squeeze is the perfect filter for UL enthusiasts—small enough that it won’t take up much real estate in your backpacking backpack and light enough (even after the final weigh-in) that you can scrub an ounce or more off your spreadsheet. Even better, it’s so affordable that it wouldn’t hurt your budget much to just replace it each season. Where it wobbles, unsurprisingly, is in water flow taking about twice as long as the standard Sawyer Squeeze to filter a liter of water. Of course, if you plan to attach the filter directly to a SmartWater bottle and suck the water out from there, that might not matter much to you.
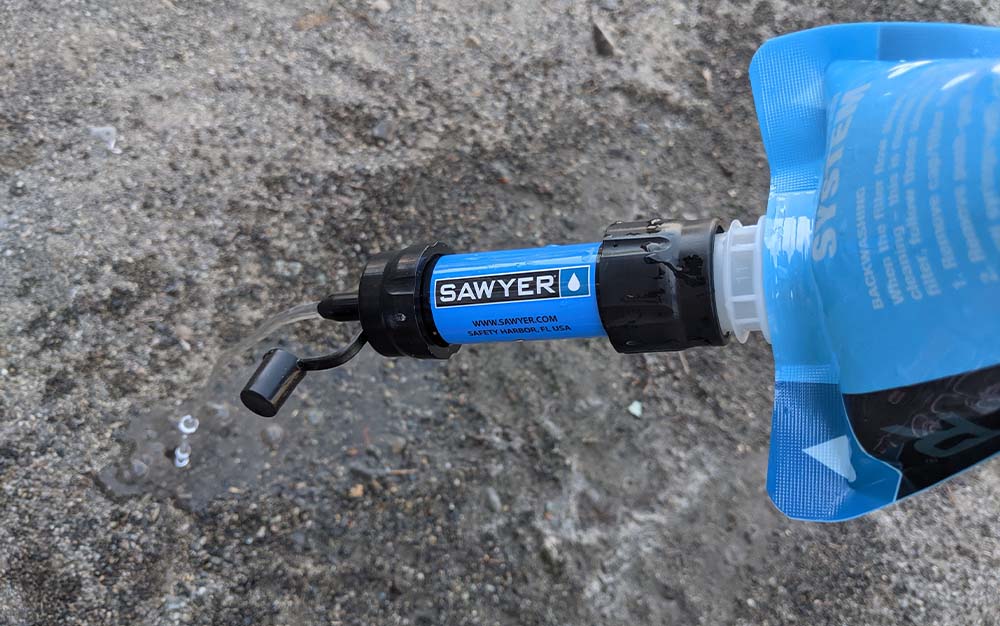
I used the provided dirty bag during testing and was impressed with its durability. Even after squeezing the bag as hard as I could to push the water out over ten rounds of filling and filtering to reach the desired five liters, the bag still looked like new. I only wish that it was larger—the bag that comes with the mini is 16 ounces rather than the standard liter. Something else I noticed during testing was that the filter itself did not appear to screw onto the bag correctly. Each time I tried to fix it, the angle would still be lopsided. Fortunately, there were no leaks during testing so this appears to be mainly an aesthetic concern.
While the flow rate for the Sawyer Mini was not especially impressive (about four times as long as the Katadyn BeFree), I did appreciate that it came with a lightweight syringe to backflush the filter when it starts to clog too much.
See It
Key Features
- Effective against protozoa and bacteria
- Weight: 2.3 ounces (6.8 ounces for the gravity version)
- Filter Pore Size: .1 micron
Pros
- Filters water quickly
- Simple mechanism
- Lightweight
- Affordable
Cons
- Difficult to get the last of the water out of flask
- No ability to backflush
At its core, all a water filtration system needs to do is move dirty water through a filter, without inadvertently contaminating the clean water vessel on the other side. One of the most popular styles of backpacking water filters leans into this simplicity: all a user has to do is fill up a plastic bag with dirty water, attach the filter, and then squeeze the water through into their drinking vessel.
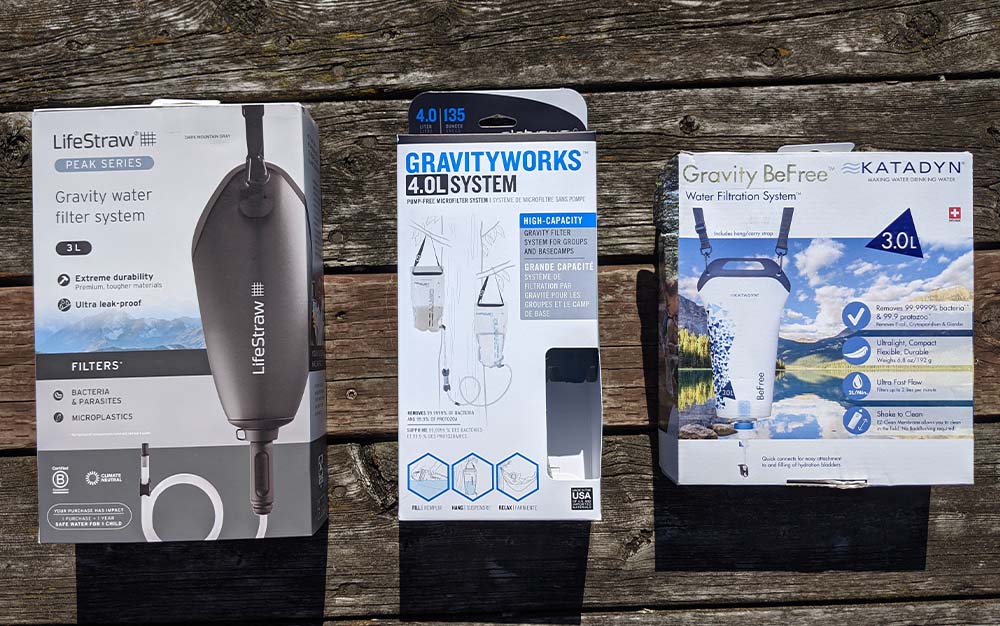
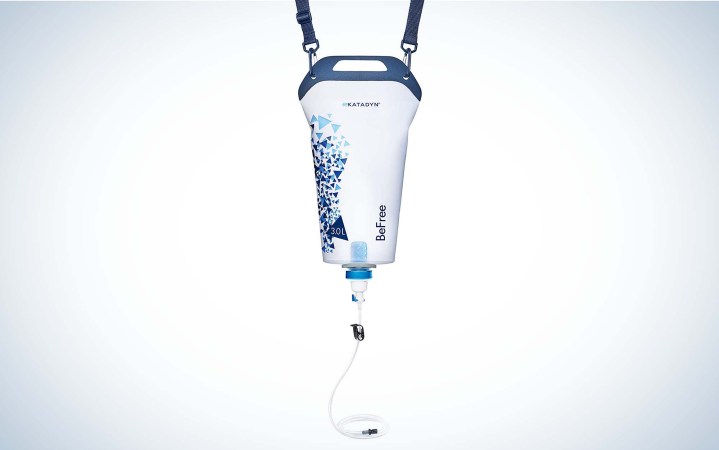
The idea behind a gravity filter is fairly straightforward, instead of squeezing or pumping dirty water into your drinking vessel, let gravity do the work for you. After filling up the dirty bag—which holds up to three liters in the case of Katadyn—you then elevate it by placing it on a large rock, hanging it in a tree, or even holding it yourself, whatever works. The higher the water is, the faster it will flow through the filter, but it will work as long as the bag itself is higher up than the end of the outlet hose. Then you can just walk away while gravity forces the water from the dirty water sources into your clean container.
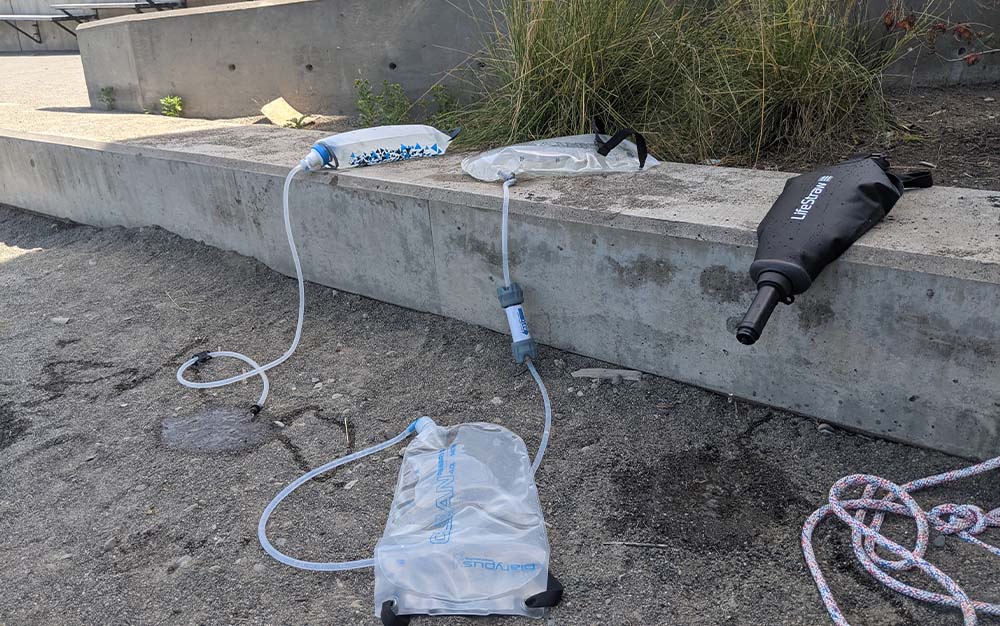
Of the three gravity filters in my test, the Katadyn Gravity BeFree had the fastest flow both when initially unboxed and after the final stage of testing. It was also lighter than the other two models in my test by several ounces.
One small, but potentially significant, difference between the Katadyn BeFree and the Platypus GravityWorks and LifeStraw Peak Series Gravity is that the hang strap is not attached to the water flask when the gravity is first unboxed. This strap, however, should not be considered optional. The bail handle at the top of the water flask is not intended to be slung over a branch, and is too small for the branch size that you would need for the filter to be safely suspended.
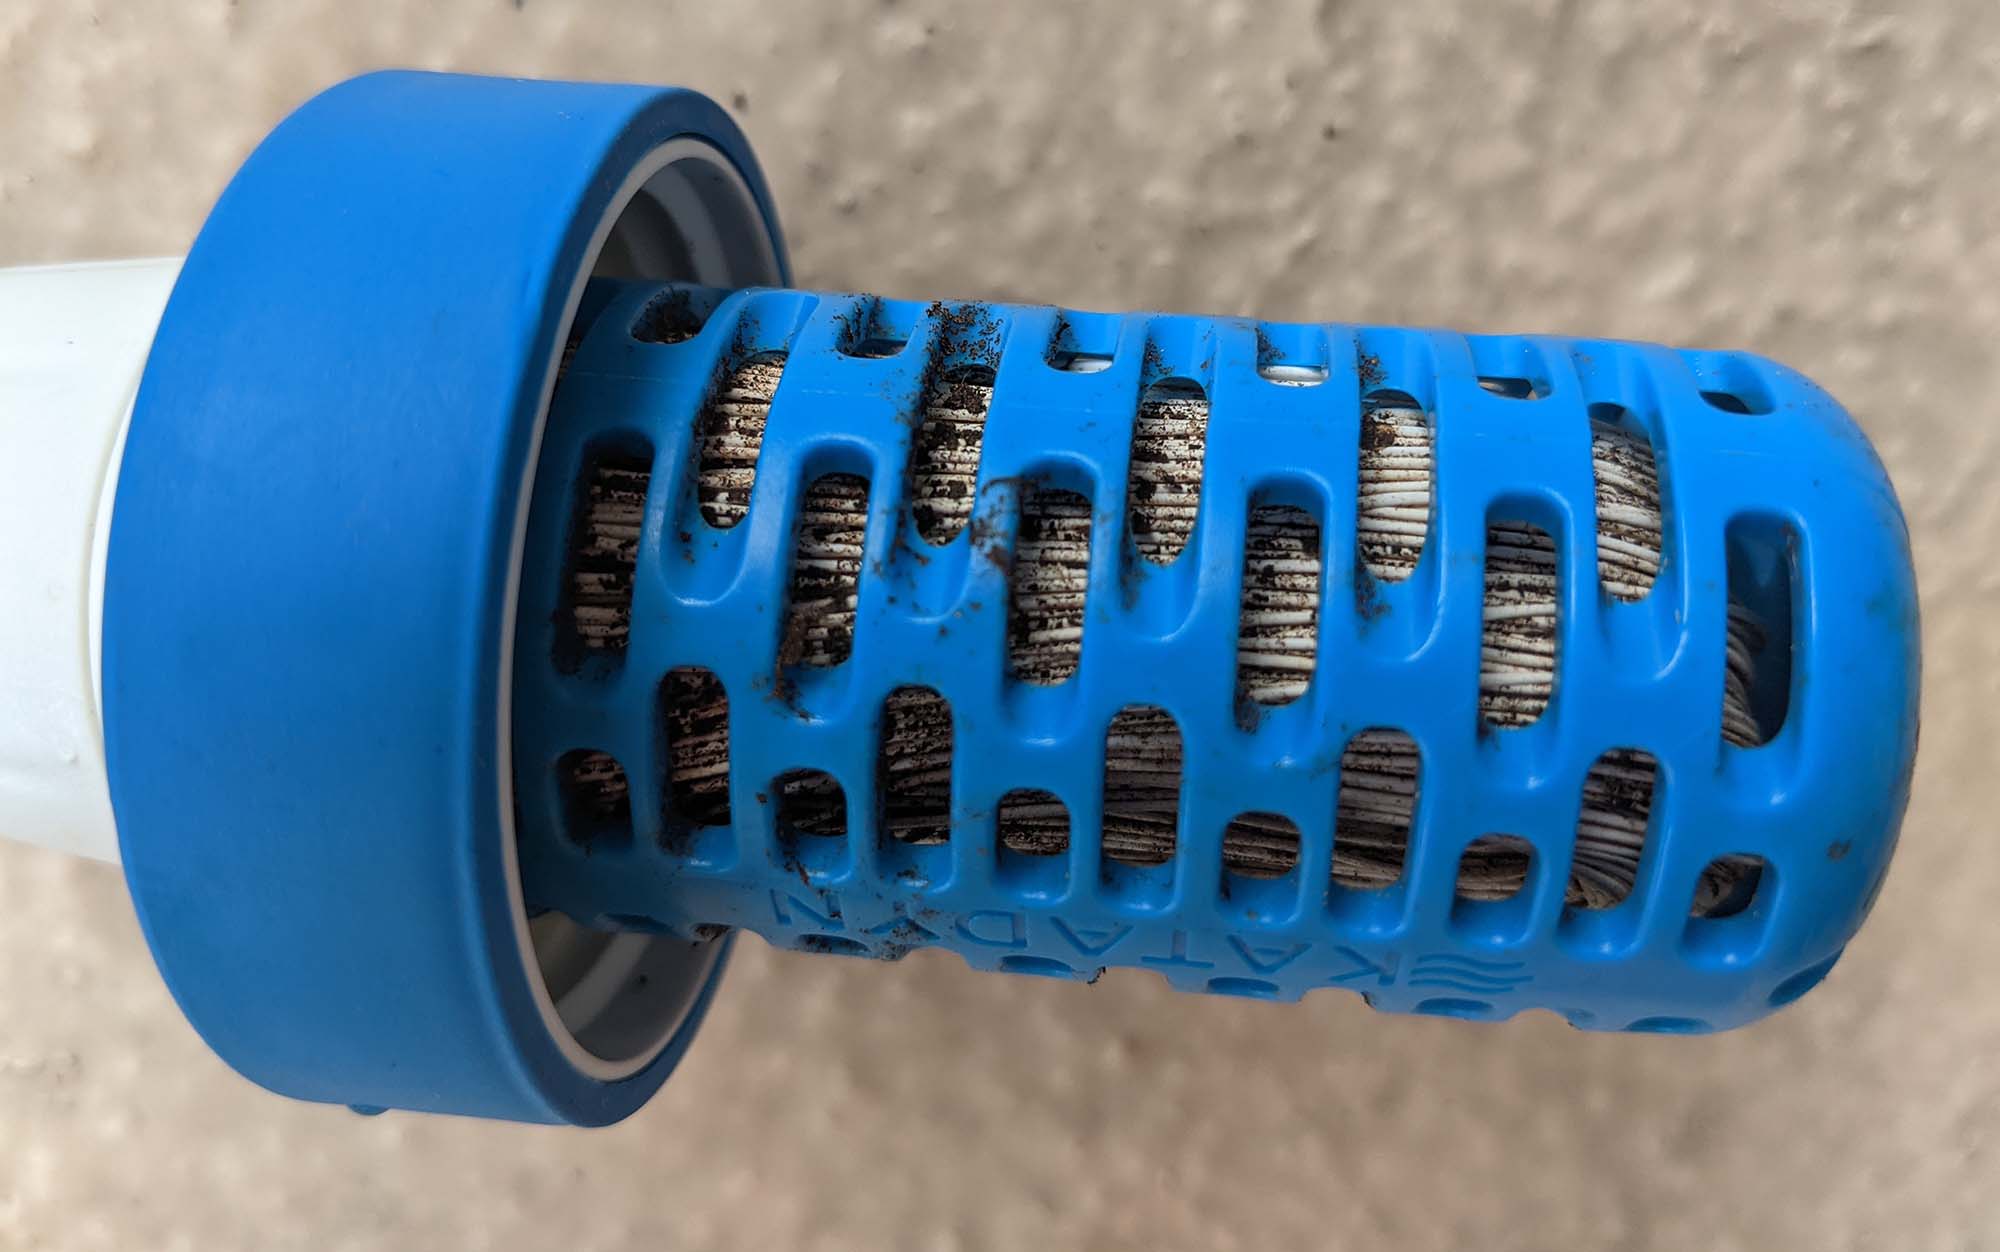
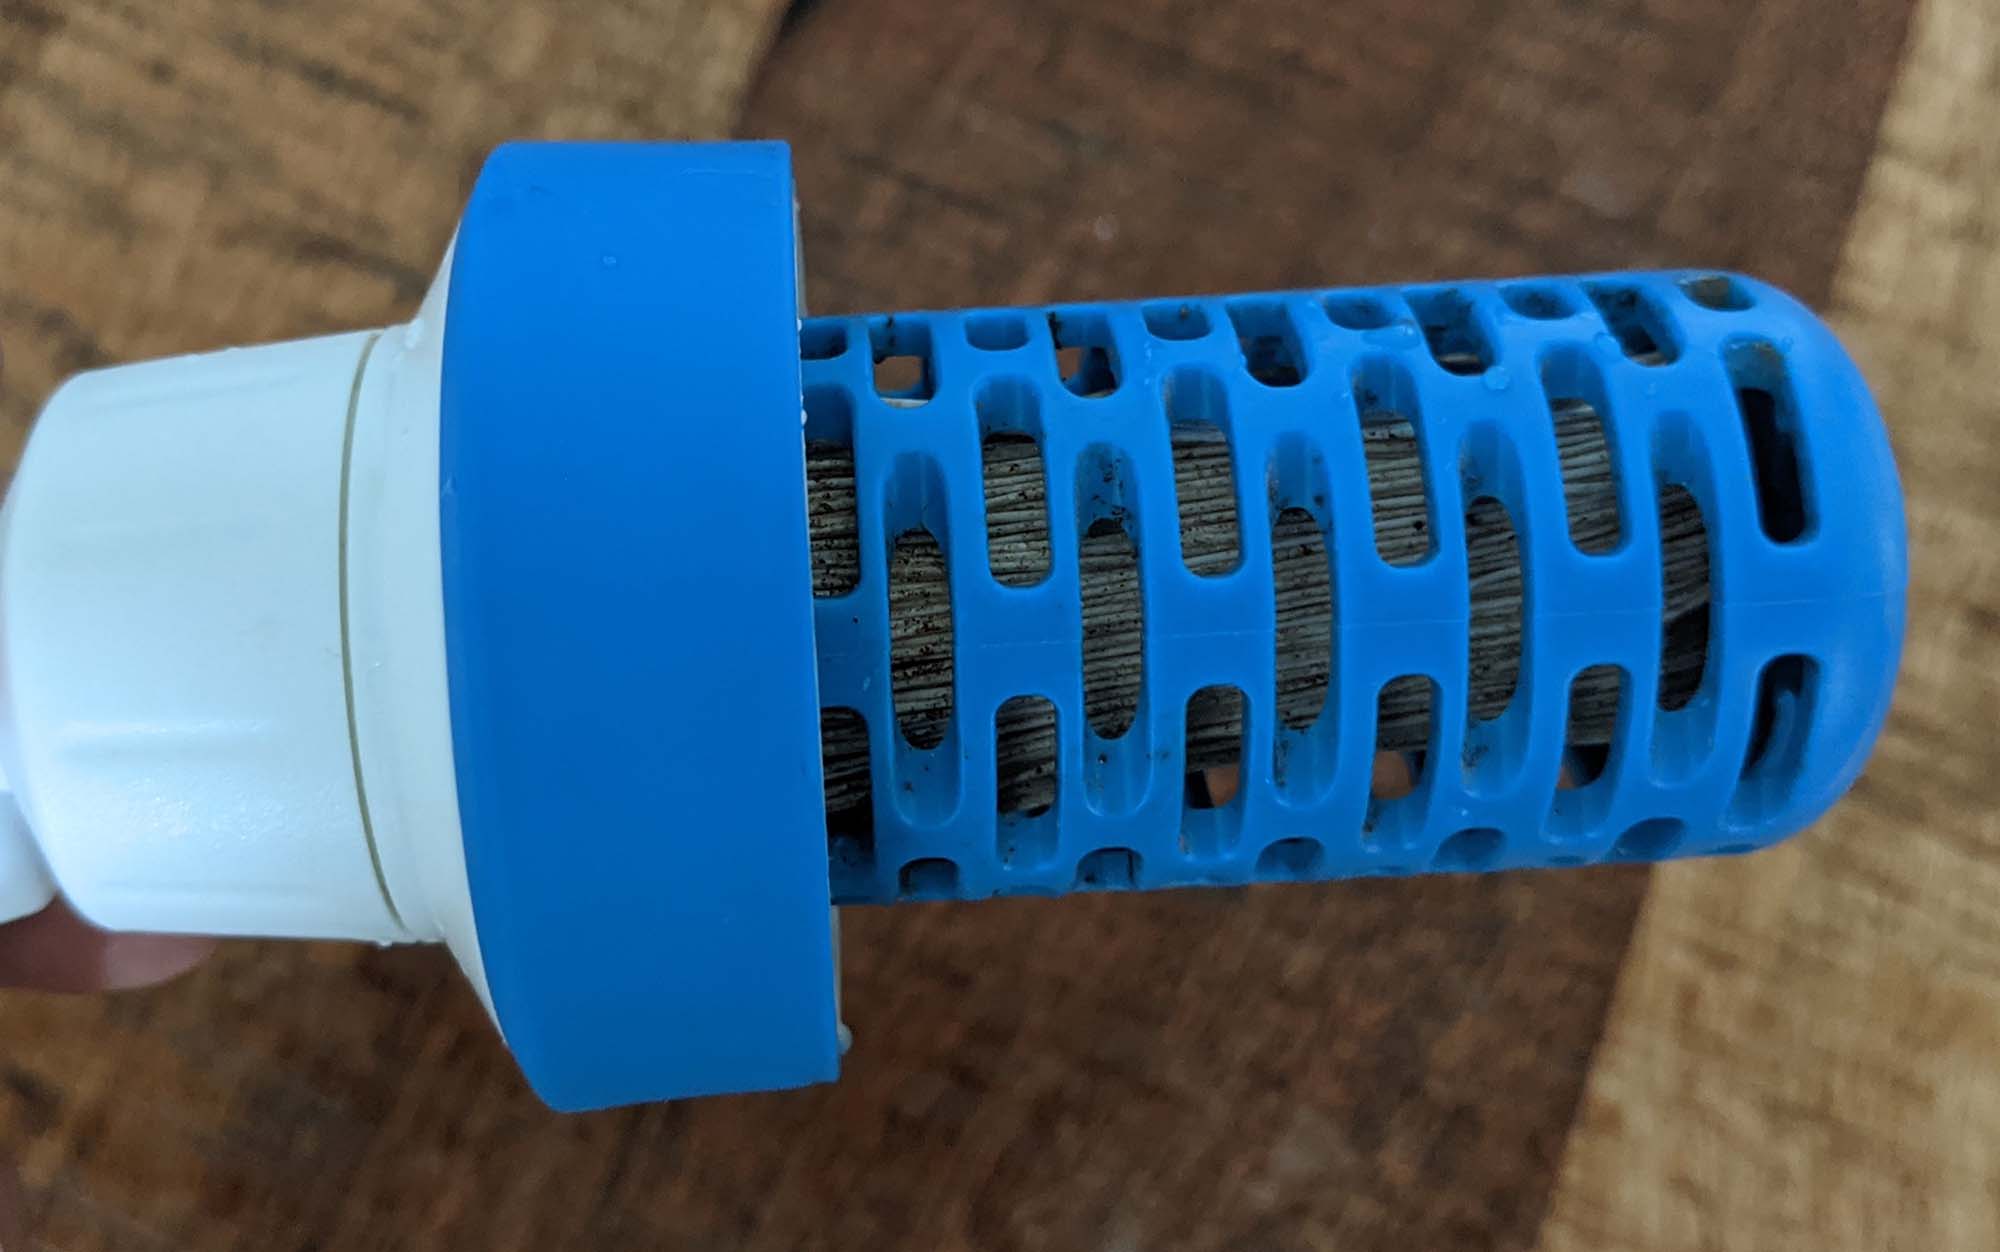
Another difference between the Katadyn Gravity BeFree and the other two filters in my test is that it is not designed for backflushing (which could damage the fibers), but the filter can be cleaned by carefully swishing it in water. While the filter did appear cleaner after I swished it, oddly, the time it took to filter a liter of water increased by a minute (I reran this test to confirm the results).
See It
Key Features
- Effective against protozoa and bacteria
- Weight: 11.5 ounces (initial); 12.8 ounces (after testing)
- Time to filter a liter of water: 1:10 (initial); 7:30 (after testing)
Pros
- Largest capacity flasks of any filter in my test
- Strong flow after the first two rounds of testing
Cons
- Expensive compared to other gravity filters I tested
- Struggled to filter glacial runoff
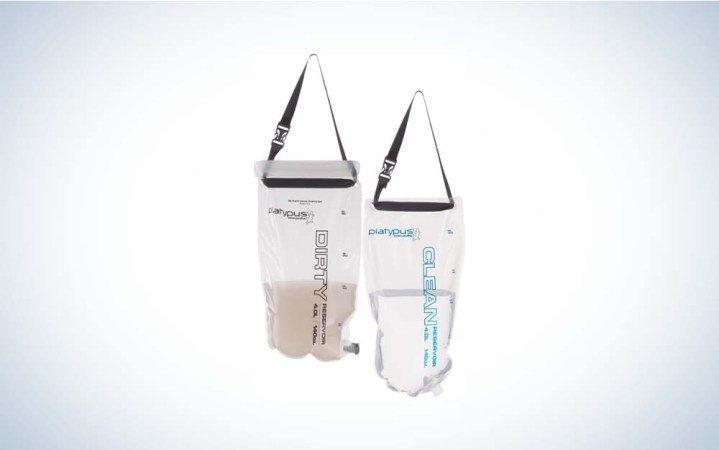
All the gravity filters in my test came with a flask of at least three liters, which is nice if you are traveling with multiple people, as it reduces the number of rounds of filling up your dirty flask that you need to do. The Platypus GravityWorks takes this a step further, with a dirty flask capacity of four liters. Even better, it comes with a second bladder to filter your clean water directly into it.
In testing, the GravityWorks took about twice as long to filter a liter of water after the first stage of testing as the Katadyn BeFree; however, it was nearly unable to process the glacial runoff, taking an hour to filter a liter of water after the third stage of testing. After using about six liters of water to backflush the GravityWorks, which is accomplished by simply raising the clean water reservoir above the dirty reservoir and allowing the water to flow backward, the flow improved significantly, but not to the level of the Katadyn BeFree Gravity.
See It
Key Features
- Effective against protozoa, bacteria, and viruses
- Weight: 17.3 ounces (initial); 21.5 ounces (after testing)
- Time to filter a liter of water: 0:45 (initial); 0:45 (after testing)
Pros
- Effective against viruses in addition to protozoa and bacteria
- One of the fastest flow rates I tested
- Backflushes the filter with each pump
- Can withstand freezing temperatures (assuming you let it thaw out afterward)
Cons
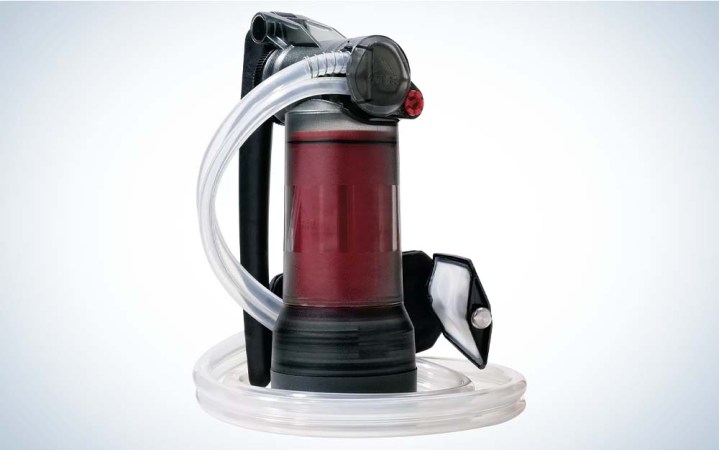
For backpacking water filters, protection against viruses, including norovirus and rotovirus, typically comes with a tradeoff—if you want a filter with a small enough pore size to weed those suckers out, you better be prepared to put in some serious elbow grease. But the MSR Guardian manages the hat trick, filtering out viruses at a fast flow rate with the same, or even less, elbow grease required as from other filters.
Part of this due to a unique feature to the MSR Guardian: instead of directing all of the water out through the bottom of the filter with each pump, a portion of the water is directed back through the filter—essentially backflushing the filter with each pump. During testing, this meant that the filter had the same performance during the last round of testing as it did during the first: forty-five seconds for a liter of water.
I was also impressed with how easy the MSR Guardian was to use straight out of the box: after it had been unmoored from its packaging, I simply unscrewed the cap on the bottom of the filter, plopped the intake filter into my pool of water and started filtering water. Besides the prefilter, which can be a bit difficult to position in the water source due to a 90-degree angle, the biggest downside to the Guardian is its cost, and its weight: it was about ten times as expensive as other comparatively fast filters (the Katadyn BeFree, Platypus QuickDraw, and Sawyer Squeeze) and five times as heavy. But if you’re looking for a no-brainer filter that can remove the full spectrum of bacteria, protozoa, and viruses from your water with basically no maintenance required, then this is the filter for you.
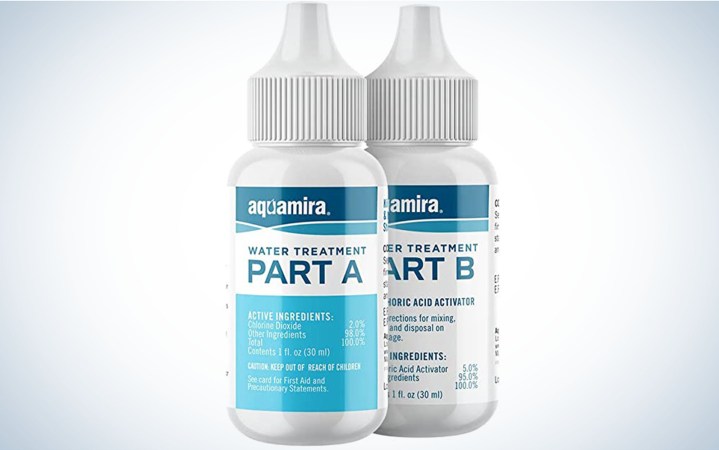
See It
Key Features
- Effective against protozoa, bacteria, and viruses
- Weight: 3 ounces
- Time to treat a liter of water: 30 minutes (standard), 4 hours (if cryptosporidium is present)
Pros
- No pumping or squeezing required
- No backflushing needed
- Lightweight
Cons
- Costs can mount if used for longer trips
- Not a good choice for water sources known to harbor cryptosporidium
Aquamira treatment drops have long been a favorite of backpackers and backpack hunters who’d rather not deal with the hassle of water filters at all, including OL staff writer Tyler Freel. (See: What’s Best for Backcountry Water: Filters or Drops?) And I can see why: While those of us that use filters are hunched over and red-faced, squeezing out a liter of water from a sketchy pond, Team Aquamira has time to attend to other camp chores while they wait for the water treatment drops to take effect.
First a note on how Aquamira works. There are two bottles, Part A and Part B. When mixed together, they produce chlorine dioxide, which is reactive in water, breaking the bonds that hold bacteria, protozoa, and viruses together. To use Aquamira you mix together seven drops of Part A with seven drops of Part B in the larger of the two caps. After five minutes, you can add the mixture to a liter of water. Twenty-five minutes after that, your water will be safe to drink. Note: you cannot pre-mix parts A and B before you head out on your trek. It must be done in the field right before you treat your water.
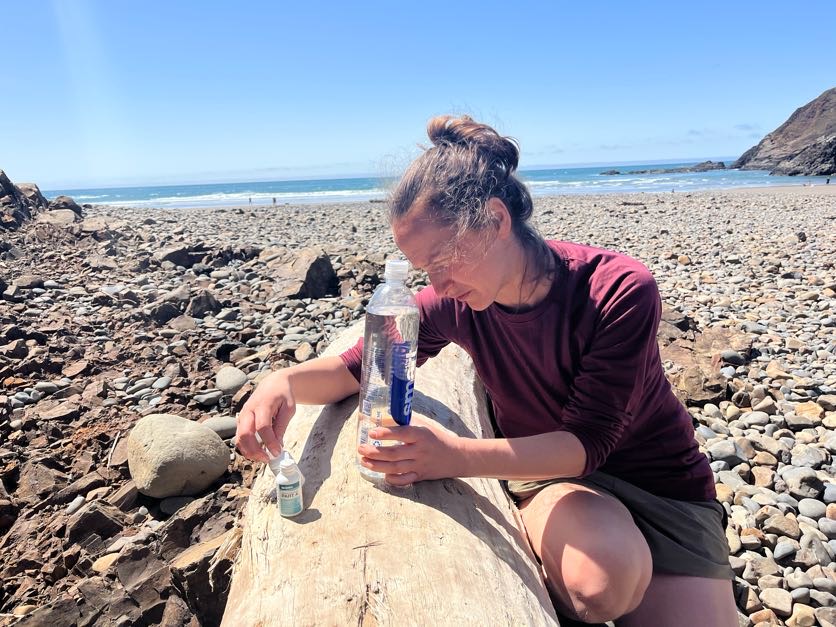
If you’ve been burned by water filters in the past, then Aquamira is a reliable alternative that requires little elbow grease. It does, however, require you to keep track of the time, which can be tricky. On our backpacking testing trip, it took me some time to develop a system to manage treating multiple liters of water. And even then, asking a hiking partner to help with a part of the system was tricky, as it was easy to inadvertently knock over the mixture in the cap as it was activating. Backpackers and backpack hunters looking for a lightweight water treatment option would be better served by the Katadyn BeFree, Platypus QuickDraw, or the Sawyer Squeeze.

See It
Key Features
- Effective against protozoa, bacteria, and viruses (but not cryptosporidium)
- Weight: .1 ounce per tab
- Time to treat a liter of water: 30 minutes
Pros
- Extremely lightweight
- Inexpensive
Cons
- Noticeable taste
- Not effective against cryptosporidium
For years, I carried a bottle of iodine in my first-aid kit. I almost never used it (iodine tastes terrible), but in the event that my water filter broke, I wanted to have something surefire on hand. While today’s backpacking water filters are much more reliable than the old pump models of yore, carrying a few tabs of backup water treatment still brings me peace of mind on longer, more remote backcountry treks.
Like Aquamira, Aquatabs take about 30 minutes to take effect, although no premixing is required here. But while Aquamira has no discernible flavor, there is a slight chemical flavor that goes along with the Aquatabs (although our testing group didn’t find that they had the same unpalatable flavor as other reviews). While this is only a minor concern in a true survival scenario, long-term use of Aquatabs could result in individual backpackers inadvertently hydrating less than is optimal for their environment.
While Aquatabs won’t be replacing a water filter in my kit anytime soon, they will be going in my first-aid kit as a backup water treatment option for longer treks.
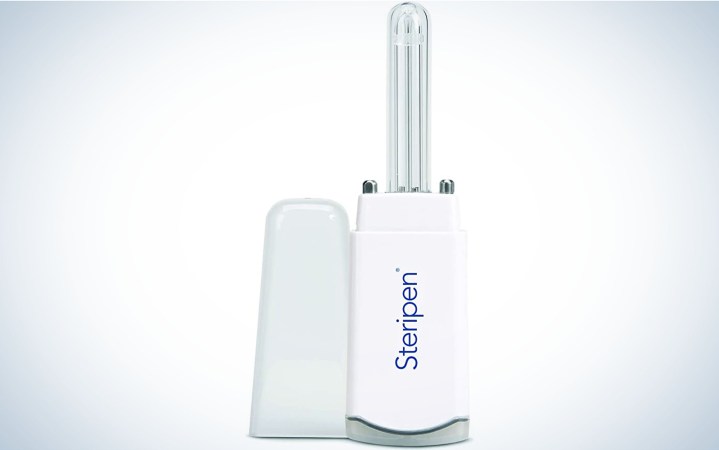
See It
Key Features
- Effective against protozoa, bacteria, and viruses
- Weight: 2.6 ounces
- Time to treat a liter of water: 1.5 minutes
Pros
- Fast acting
- Effective against viruses
- Cannot clog
Cons
- Sensitive to humidity
- Difficult to understand why it’s malfunctioning sometimes
SteriPENs, the most popular form of UV water treatment for backpackers and backpack hunters, are one of the strangest water treatment options on the market. Whereas chemical treatment and water filter options make some kind of intuitive sense, the eerie glow of UV treatment seems almost magical. For some people, this is appealing; for others, it’s a nonstarter.
Which gets a bit at the heart of the experience of using a SteriPEN. I used the original version of the SteriPEN for years and became fairly familiar in that time with its pitfalls: don’t pack it away wet, warm it up before using it in especially cold water, watch the sensors carefully when submerging. By carefully following these rules, we could get about as much reliability out of our SteriPEN as users of the squeeze bag filters were getting.
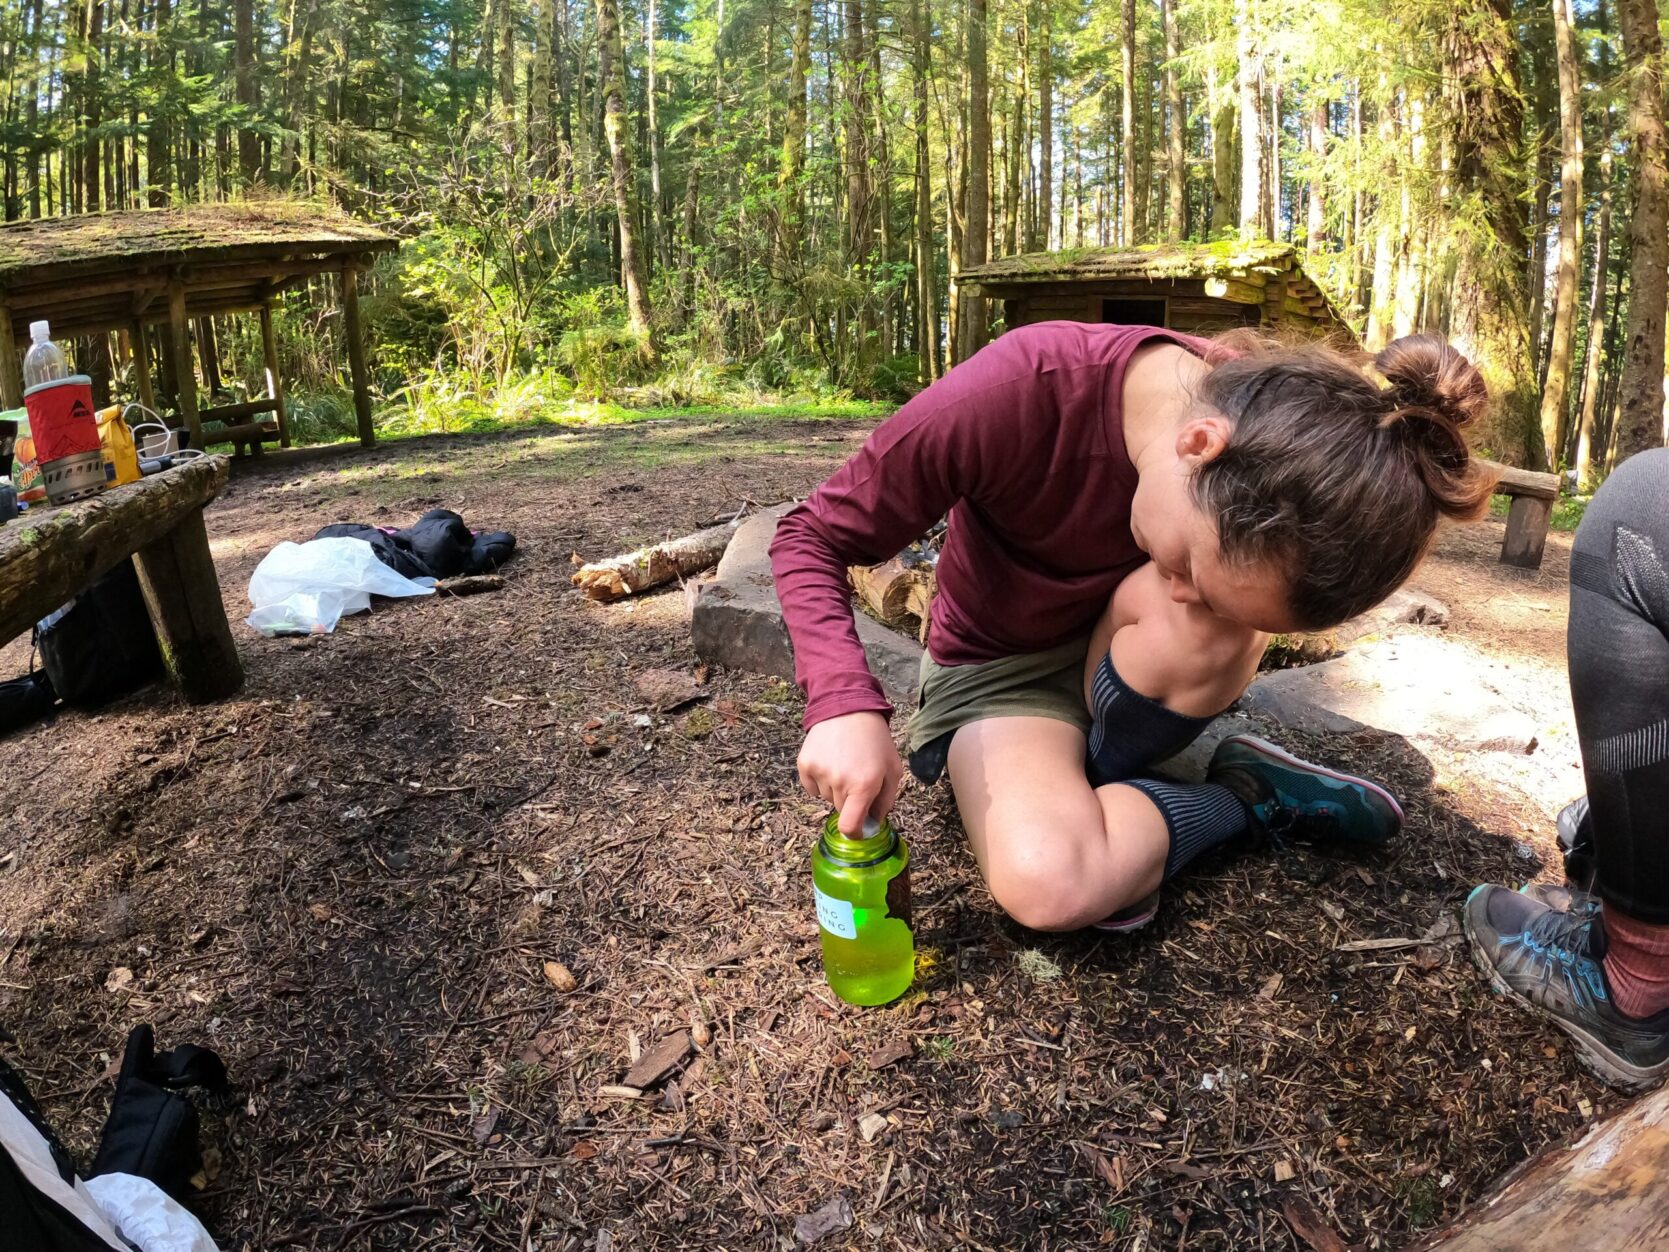
On our testing trip, I handed off this latest version of the SteriPEN to one of our testers while going to put away my tent. When I came back, 15 minutes later, she still hadn’t managed to filter a liter of water. I watched her fifth attempt to see if I could troubleshoot what was going wrong, but I couldn’t see why she was getting error readings (or recall in the moment what the different flashes of color meant).
Then I tried it and it worked perfectly. This about sums up most people’s experience with SteriPENs. When they work, it’s like magic. When they don’t work, you’ll want to pull your hair out. If you do go this route (it is the only non-chemical treatment at this weight that’s effective against viruses), then be sure to test it out extensively at home and take a backup water treatment method along for a few trips until you are comfortable with it.
Read Next: How Long Can You Survive Without Water?
Best for International Travel: Grayl Ultrapress
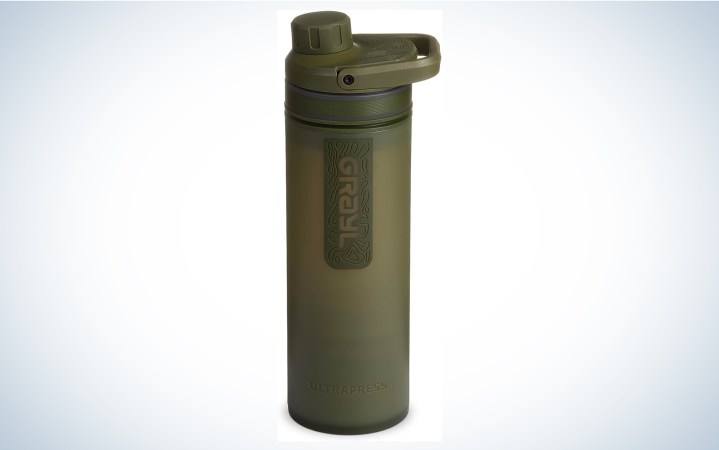
See It
Key Features
- Effective against protozoa, bacteria, and viruses
- Weight: 12.5 ounces (initial); 13.9 ounces (after testing)
- Time to filter a liter of water: 0:50 (initial); 6:30 (after testing)
Pros
- Filters out viruses
- Built-in water bottle
Cons
- Heavy
- Short cartridge life
- Can’t handle sediment
You might be wondering, why is there a travel recommendation in a story on backpacking water filters? I’ll tell you: It’s because I get asked pretty frequently why I don’t recommend this water filter for backpacking. After all, it’s got some impressive features. It’s a combo water filter and water bottle. It filters out viruses. And, out of the box, it’s plenty fast compared to the other best backpacking water filters.
Let’s first look at how the Grayl works. It’s a bit like a French press. You pull out the inner tube, fill the bottle up with water to the desired line, and then push the inner tube back down on top of the water until it’s all pushed through the filter on the bottom. This works best if you put the water bottle on the ground and allow your body weight to do the work of pushing the water through.
While Grayl boasts a very fast flow rate for this bottle, the actual rate is very much affected by how much effort you put into it. Most people can expect a half liter to take about 30 seconds, while expending moderate effort. The filter itself is also unique, as it uses carbon to attract viruses using electroabsorption (which is a fundamentally different process than filtering them out, such as the MSR Guardian does).
For backpackers, there are a handful of issues that add up to this being not quite the right choice. First off, it’s pretty heavy, even when taking into account the benefit of having a built-in water bottle. In the backcountry, this added weight goes up even more, as the last half inch or so of water in the Grayl doesn’t filter through the inner tube, and is simply left sitting at the bottom of the bottle after filtering. The filter itself also has a much shorter lifespan than other backpacking filters, with Grayl advertising that you can expect about 350 liters out of it.
During testing, the filter was very affected by our gnarliest testing site, the glacial runoff, suggesting that in less pristine parts of the backcountry this filter may last significantly less time than 350 liters. And when this filter starts to struggle, it becomes a real nightmare to try and use. At least with the squeeze bags you can sit down while you struggle away (and maybe even backflush!), with the Grayl you’re stuck standing up, throwing all of your body weight down on top of a tiny lid that’s only a few inches in diameter.
But what about the virus filtering? Well, very few backcountry water sources are contaminated by things like rotavirus, because these are typically human-borne pathogens. Backpackers don’t need this kind of firepower. Here’s who does: anyone living in or visiting parts of the world where the water coming out of the tap isn’t trustworthy. That water is probably running clear, too, so the lifespan of the filter will be that much longer. If you’re looking for a travel water bottle that will protect you from just about everything, from e.Coli to giardia to cryptosporidum, this is the filter for you.
FAQs
Backpacking water filters can cost as little as $25 to as much as $400. Much of the difference in cost reflects the long-term durability of the filter, as well as their ability to handle more complex water quality problems, including viruses and heavy metals.
The question of whether you need a water filter or purifier for backpacking is, to an extent, about the level of risk you are willing to tolerate. In the high alpine of a national park, for instance your odds are low, while if you are sharing a water source with livestock in a national forest, the odds increase considerably.
Because the consequences of contracting a waterborne illness like giardia or cryptosporidium can be so severe, and both the cost and weight of low-profile filters like the Sawyer Mini Squeeze, Platypus Quickdraw, and LifeStraw Peak Series is not a burden for most backpackers, I recommend always carrying one in your hiking backpack and treating all your water sources with it. If you are unsure as to whether you need a water purifier—which will also remove viruses like rotovirus and norovirus—contact the land manager where you plan to travel for more information about the waterborne contaminants typically found there.
Even today, it is fairly common to see a blanket recommendation to always boil your water when out in the backcountry. The reason for this is simple: most backpacking water filters do not remove viruses, whereas chemical treatment methods are not effective at neutralizing protozoa like giardia and cryptosporidium. Boiling water, on the other hand, does it all. The trouble with this recommendation is that boiling water is not only time consuming, but can also require you to bring in an excess of fuel or a backpacking stove if where you are traveling doesn’t have options readily available. Even if you do plan to boil all your water, carrying a lightweight filter is an important backup to have in the event that your fuel sources run out.
Things to Consider Before Buying Backpacking Water Filters
Filter vs Purifier
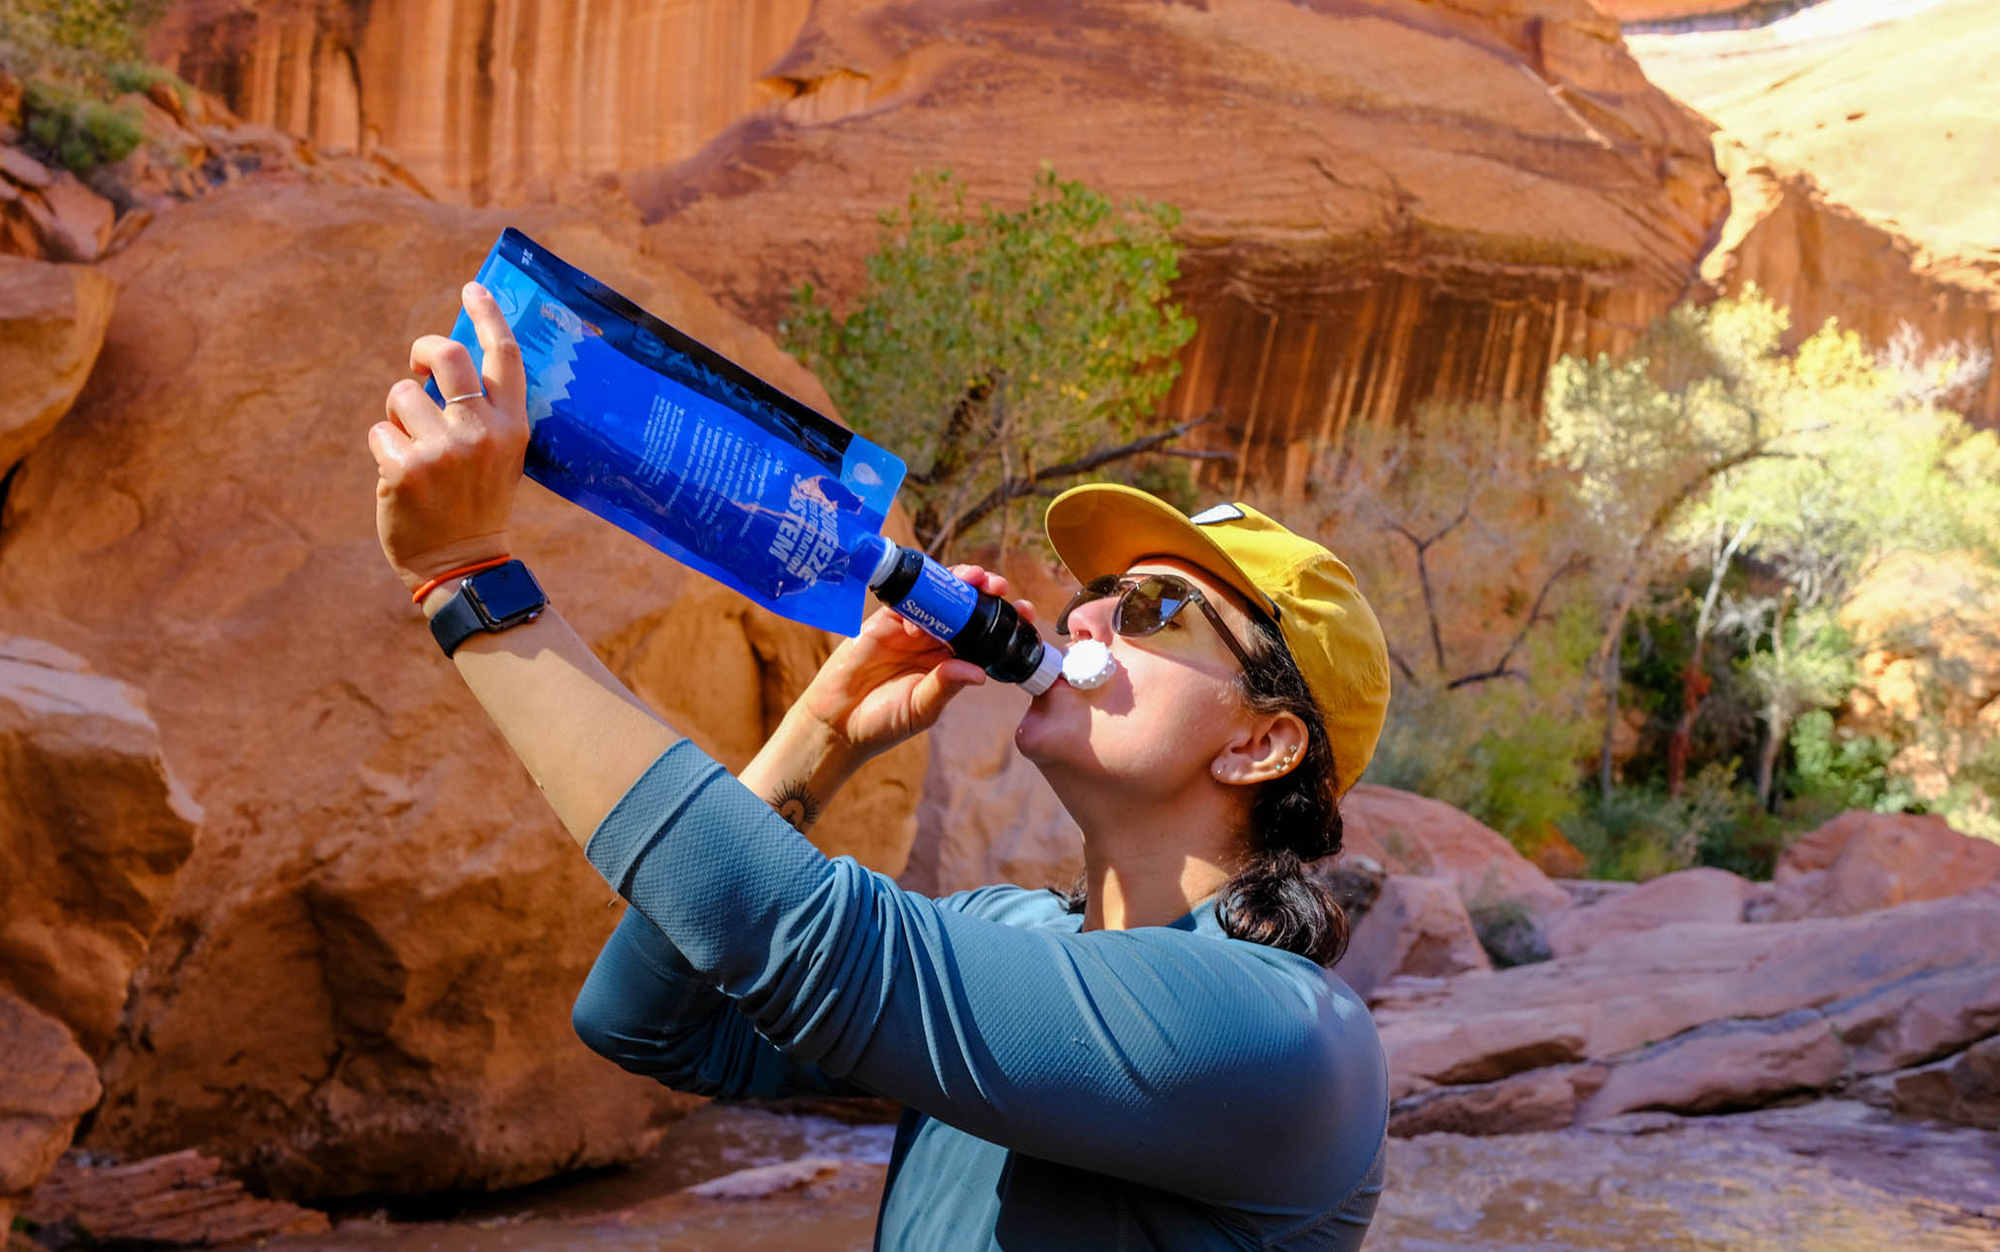
The difference between a water purifier and a water filter comes down to its filter pore size. Traditional water filters have pore sizes, typically .2 microns or 200 nanometers, that are small enough to weed out bacteria and protozoa, but not the much smaller viruses, such as rotovirus (70 nanometers) or norovirus (38 nanometers). Individuals traveling to backcountry environments known to be infected with viruses should take extra caution that their filter will protect them, but it is not common for water sources to be contaminated with viruses.
Camp vs Trail
If you plan to put a ton of miles on your hiking shoes, then the lighter weight of a squeeze-bag style filter may be a higher priority for you. However, if you are only hiking a short distance to camp, then the convenience of a gravity filter or the lower-effort pump filters may be an easier choice.
Sediment and Debris
If you expect the water sources on your next backpacking trip to be unusually dirty—full of swirling sediment or plant matter—then it’s best to choose a backpacking water filter with a prefilter. The prefilter helps to ensure that some of the muck in the water source doesn’t make its way into the more delicate fibers of your filter, which can ultimately clog it and render it inoperable.
Final Thoughts
The best backpacking water filters produced by reputable brands like MSR, LifeStraw, Katadyn, Platypus, RapidPure, and Grayl provide excellent protection against waterborne diseases in the backcountry. Which filter is right for you will depend in large part on whether you prioritize cost, weight, or long-term durability. To help you make a final decision on an efficient individual backpacking filter, we put the Sawyer Squeeze, Katadyn BeFree, and Platypus QuickDraw head to head in a new testing environment: the desert. While there are increasing numbers of low-profile filters on the market that are capable of removing viruses from water sources, during testing these were so arduous to use after even the first round of testing that I would recommend backpackers pair a chlorine-based disinfectant or even a UV-based purifier like a SteriPen with a water filter instead.
Read the full article here

